kitchen renovation

Subzero & Wolf Professional Training Trip

It's been almost a month since our wonderful trip to the Subzero & Wolf Headquarters in Wisconsin.  At the facilities we spent two days fully immersed in the culture and products. Led by Subzero/Wolf experts, we explored the depth and breadth of the product lines, the up and coming changes, improvements, and additions to the appliances, and the company’s core values.  And to top it all off, we had the pleasure of interacting with their executive chefs during live cooking demonstrations in state of the art kitchens.

 I've taken some time to reflect upon the trip and wanted to create a blog post highlighting my take-away from the training trip.  Enjoy all the photos (especially of the delicious food)!

Quality & Commitment

From the start it was apparent that the good hospitality and overall friendliness wasn’t just a gimmick (although it may be true what they say about New Jerseyans vs. the rest of the country!).  It was a genuine reflection of the company philosophy and commitment to quality that Subzero & Wolf are so well known for.

Subzero & Wolf strive to guarantee their products for 20+ years.  20+ years is a bold statement for any company to make.  However, after touring their factories I can see why they are so confident in their products. 

No photos were allowed during the factory tour (keeping all their secrets very private for obvious reasons), but I can tell you from first hand experience the care taken to manufacture these appliances is truly top of the line.  Rigorous testing is done throughout the entire process both by computers and human hands.  The most interesting thing I learned was that Subzero & Wolf do 3x the amount of testing on their appliances as it takes to actually manufacture them.


Time Honored Family Business

Whether it's due to the economy or online shopping (hello, Amazon), it’s difficult for businesses (whether big or small) to survive.  It’s also very uncommon for large businesses like Subzero/Wolf to still be family owned since inception in 1945.  Jim Bakke (grandson of Subzero founder, Westye Bakke) still has a hand in all the products and innovations developed by Subzero/Wolf to this day.  Being a family owned business ourselves, the company history of Subzero/Wolf is both inspiring and impressive. 

To learn more about the company history, click here!
 

Innovation & Expertise

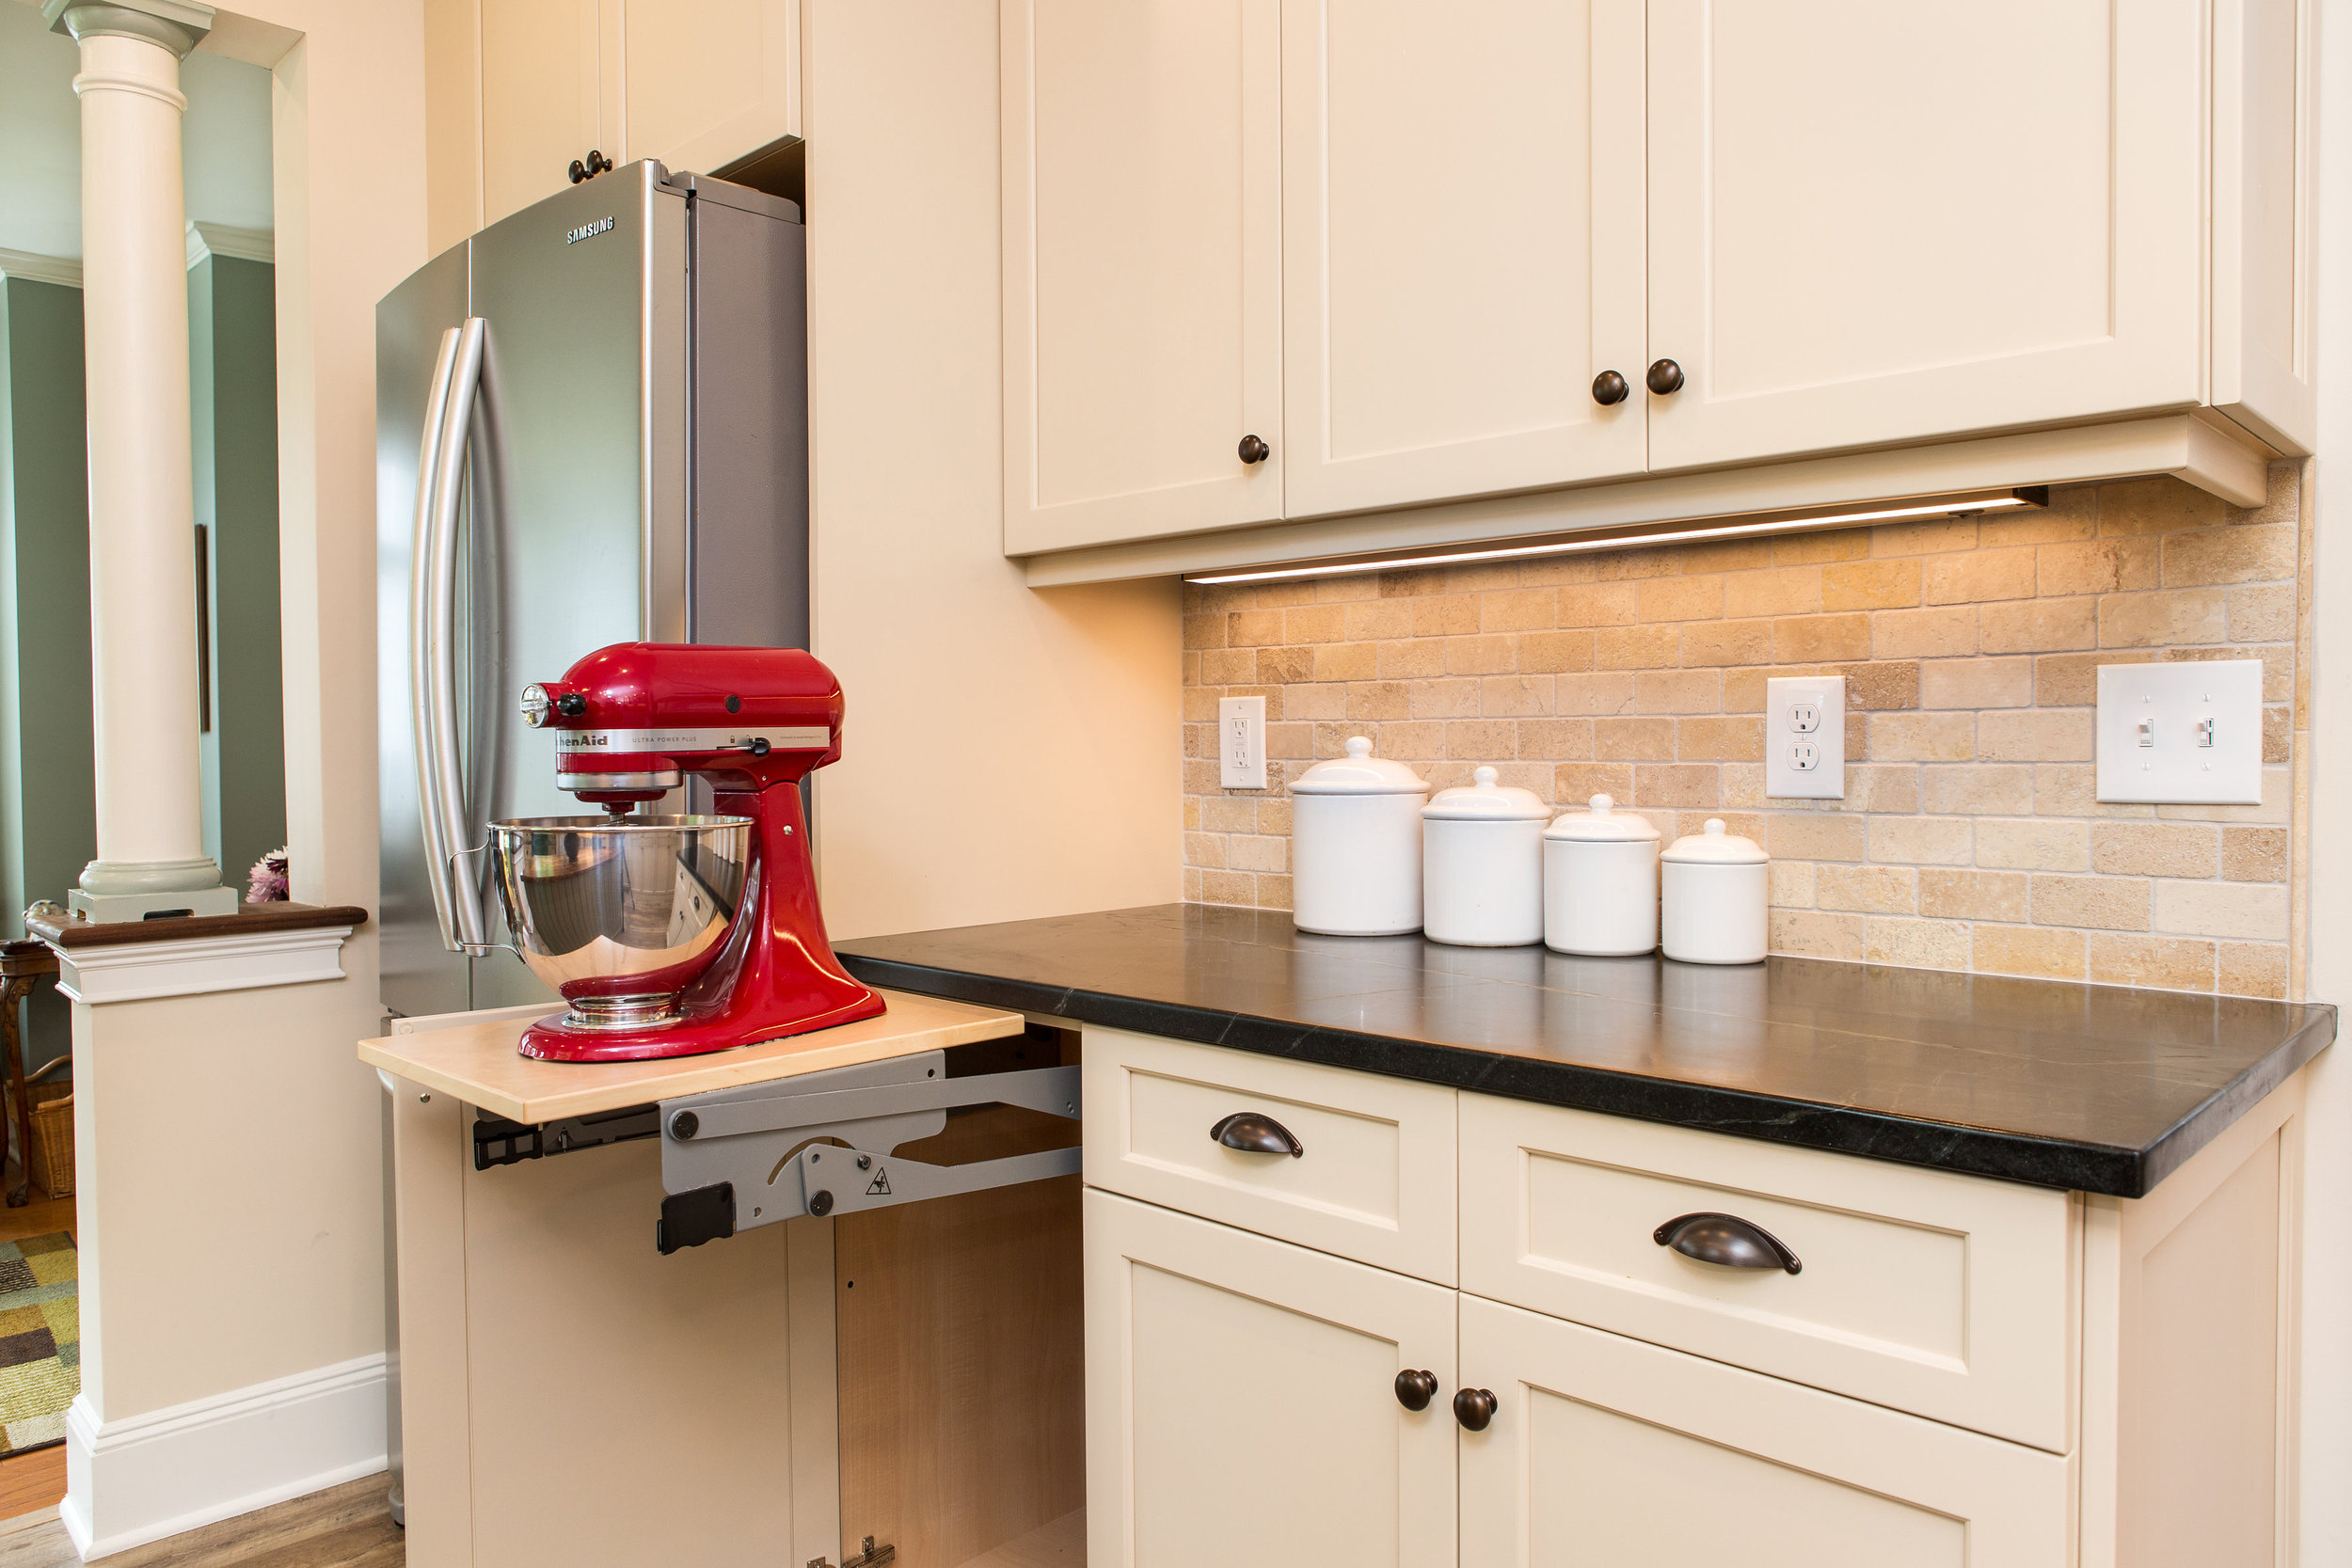
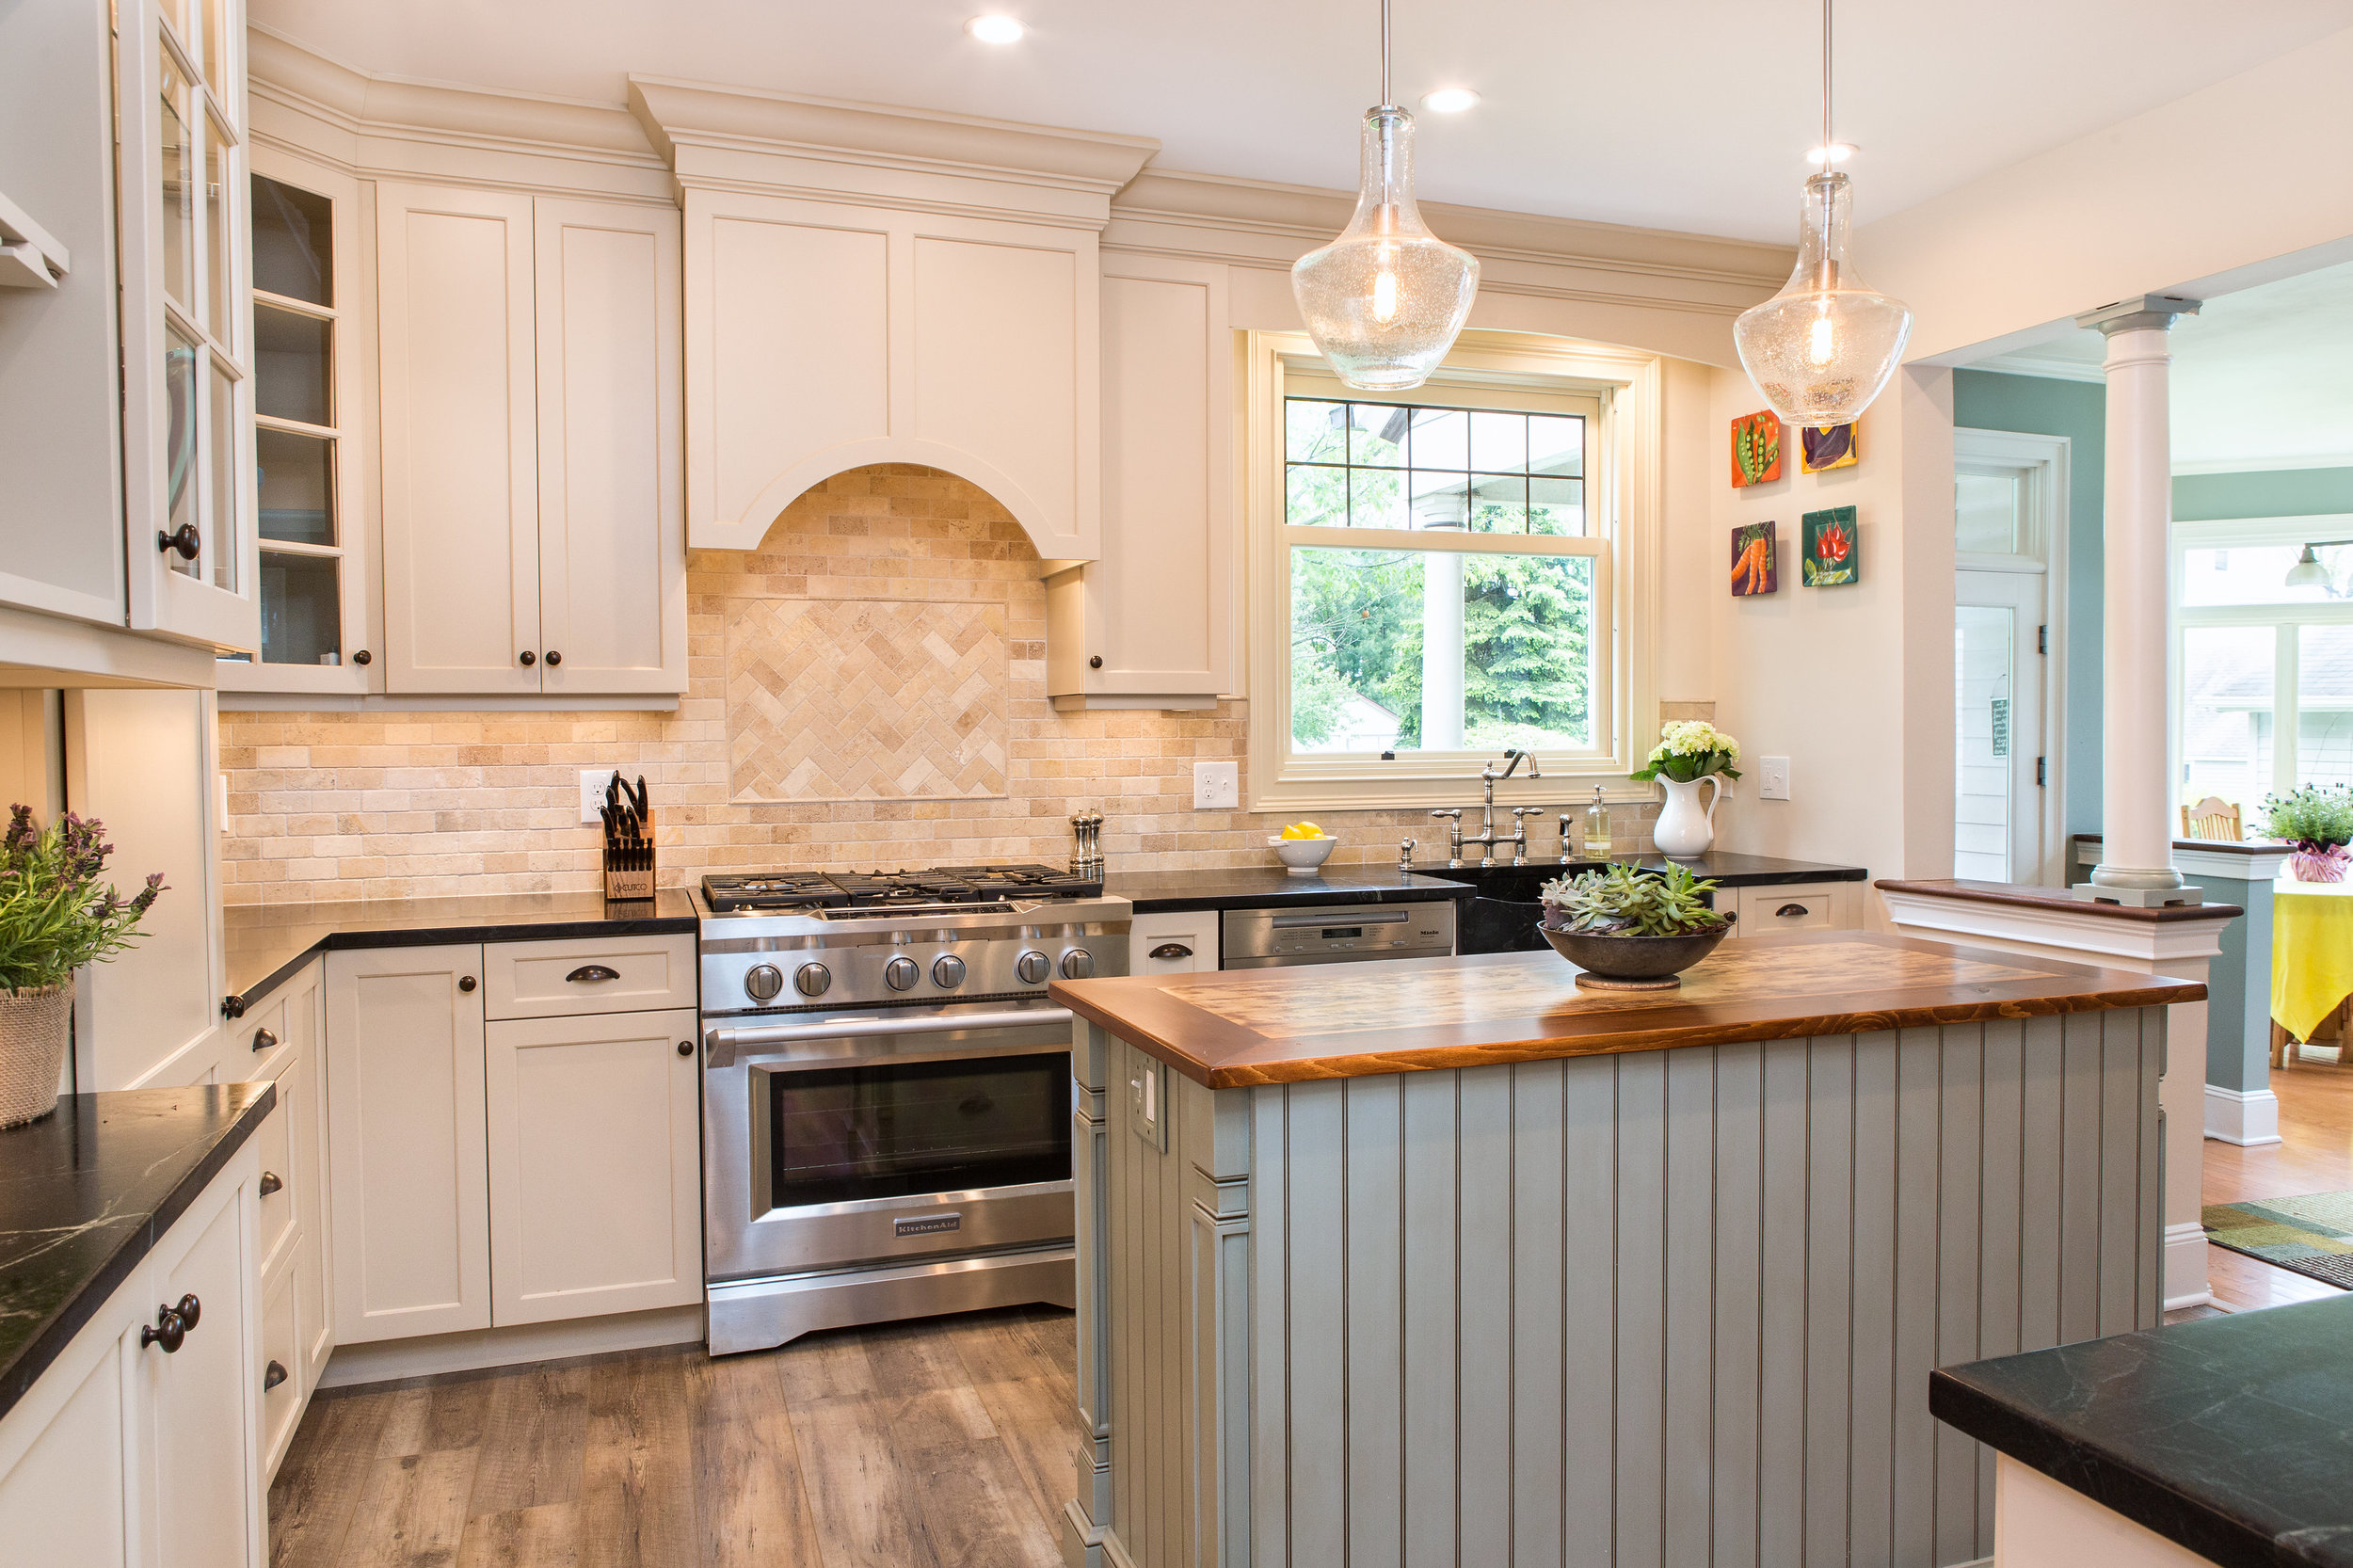
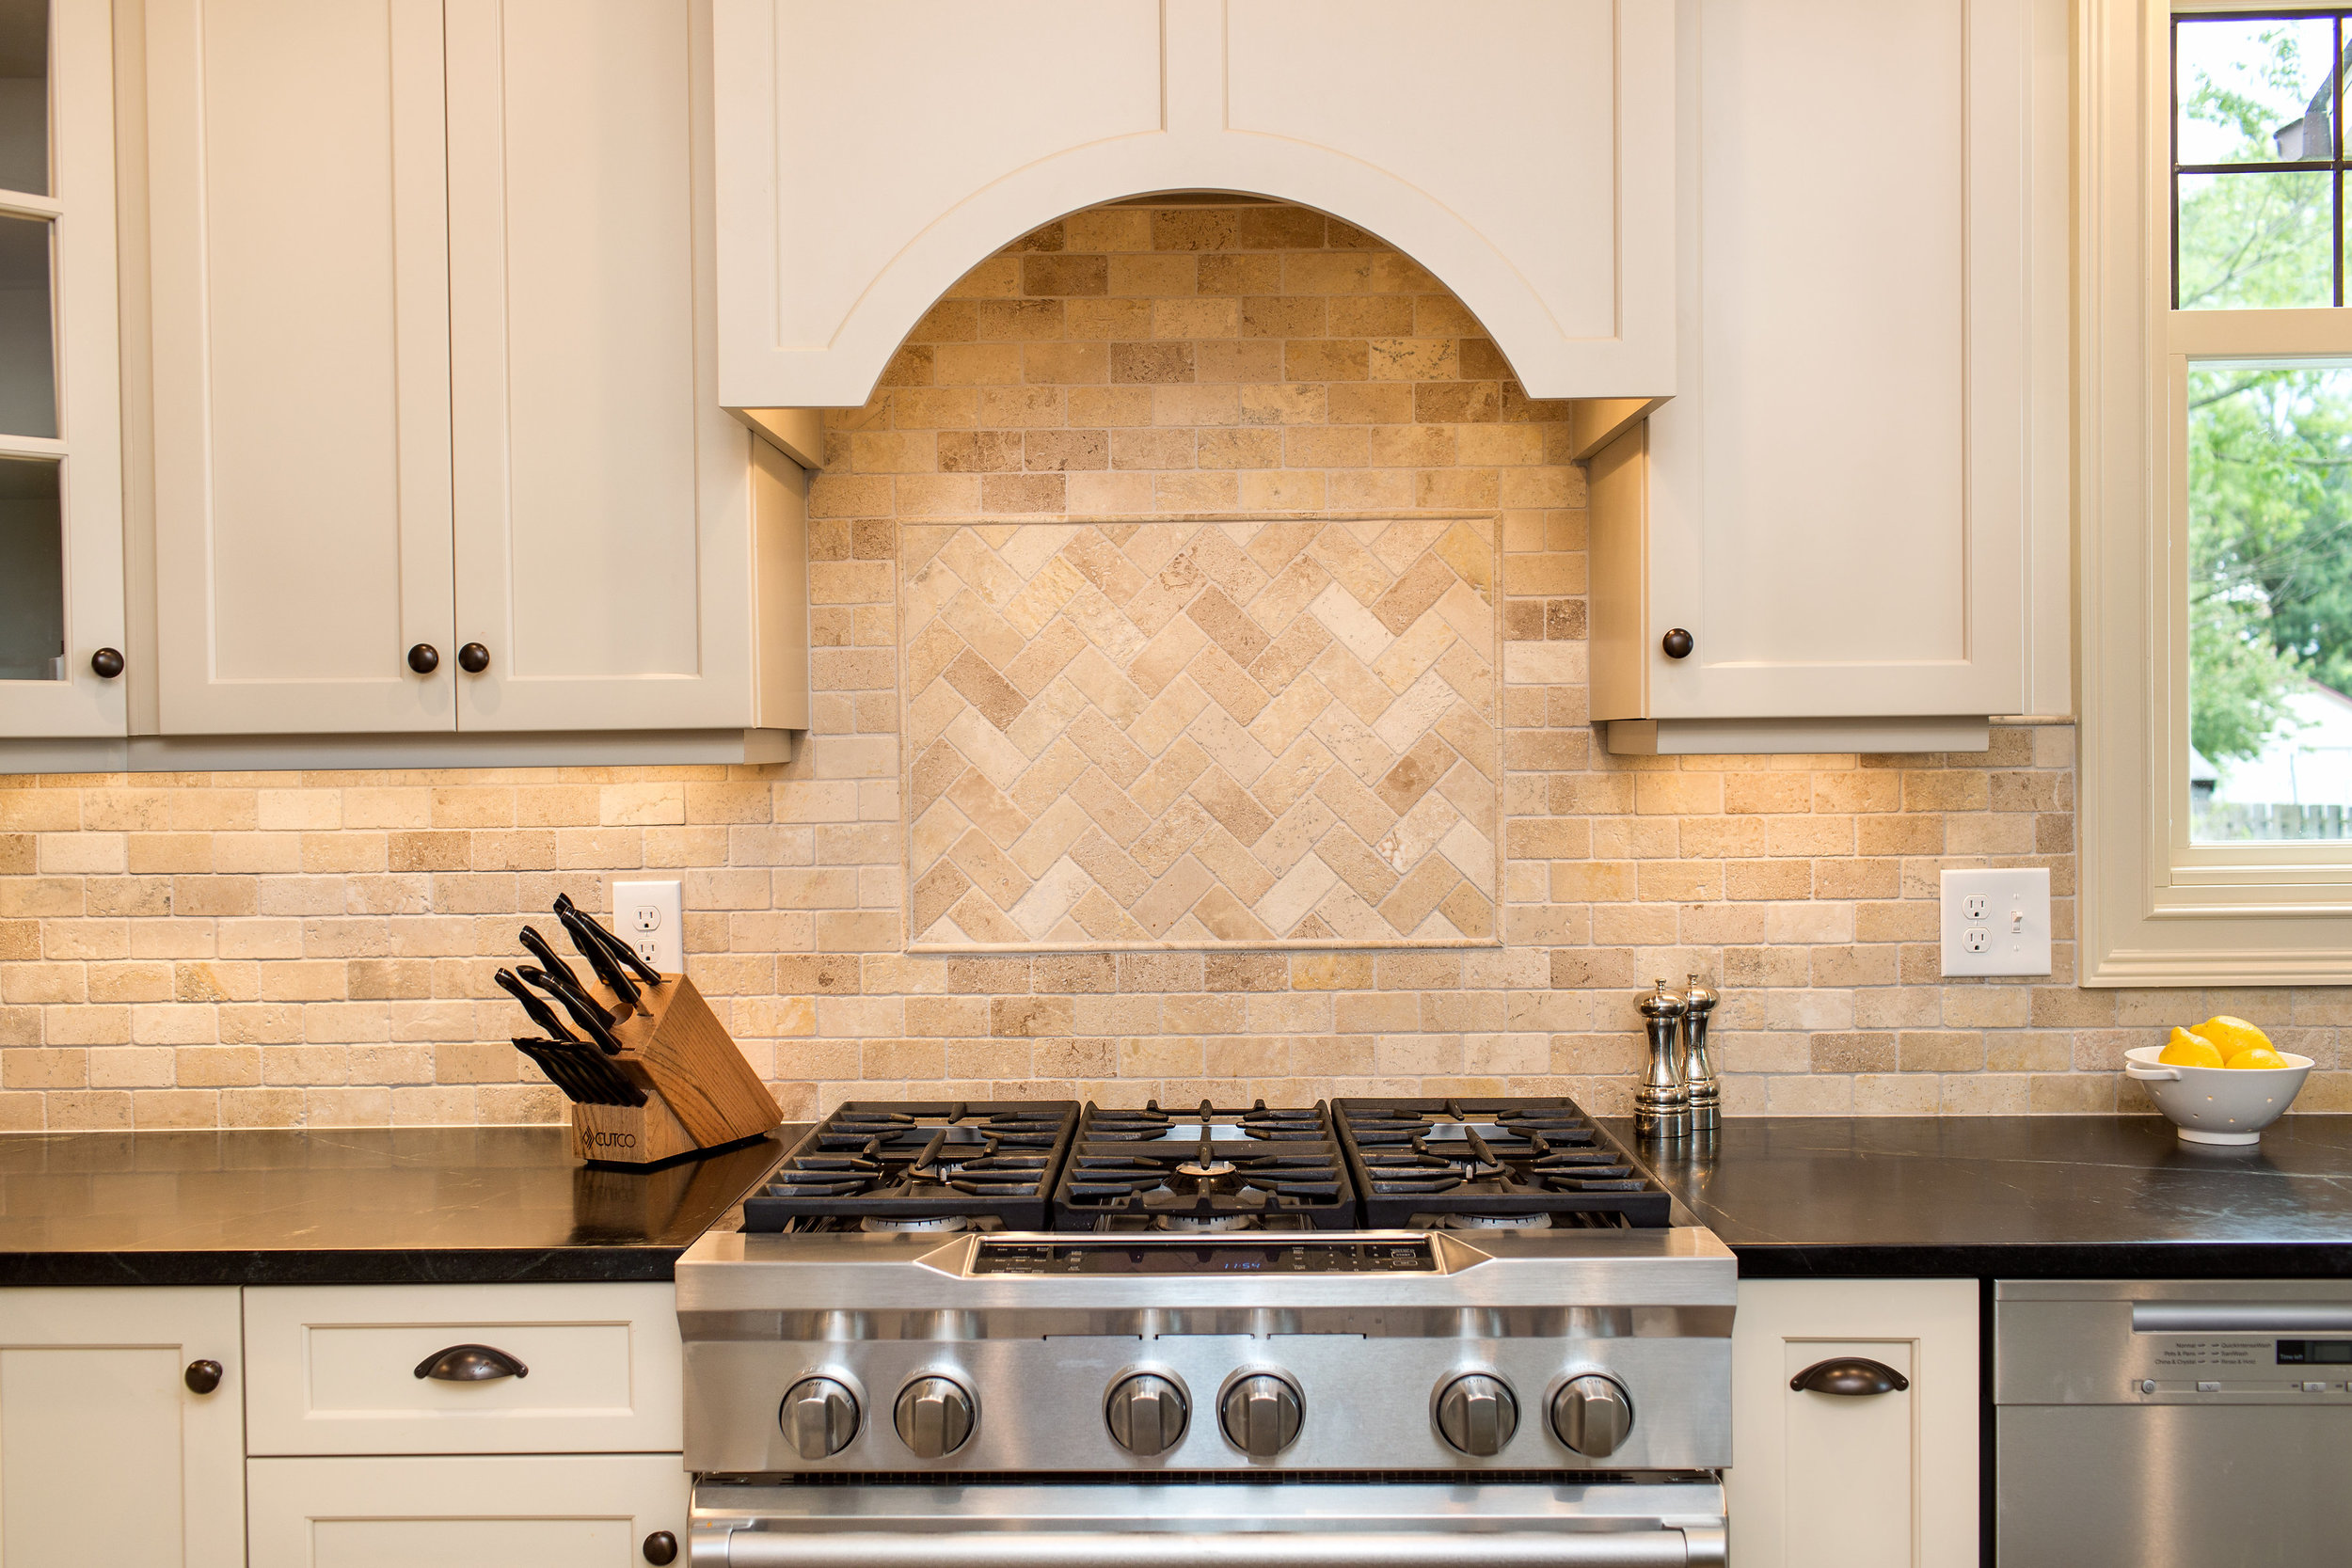
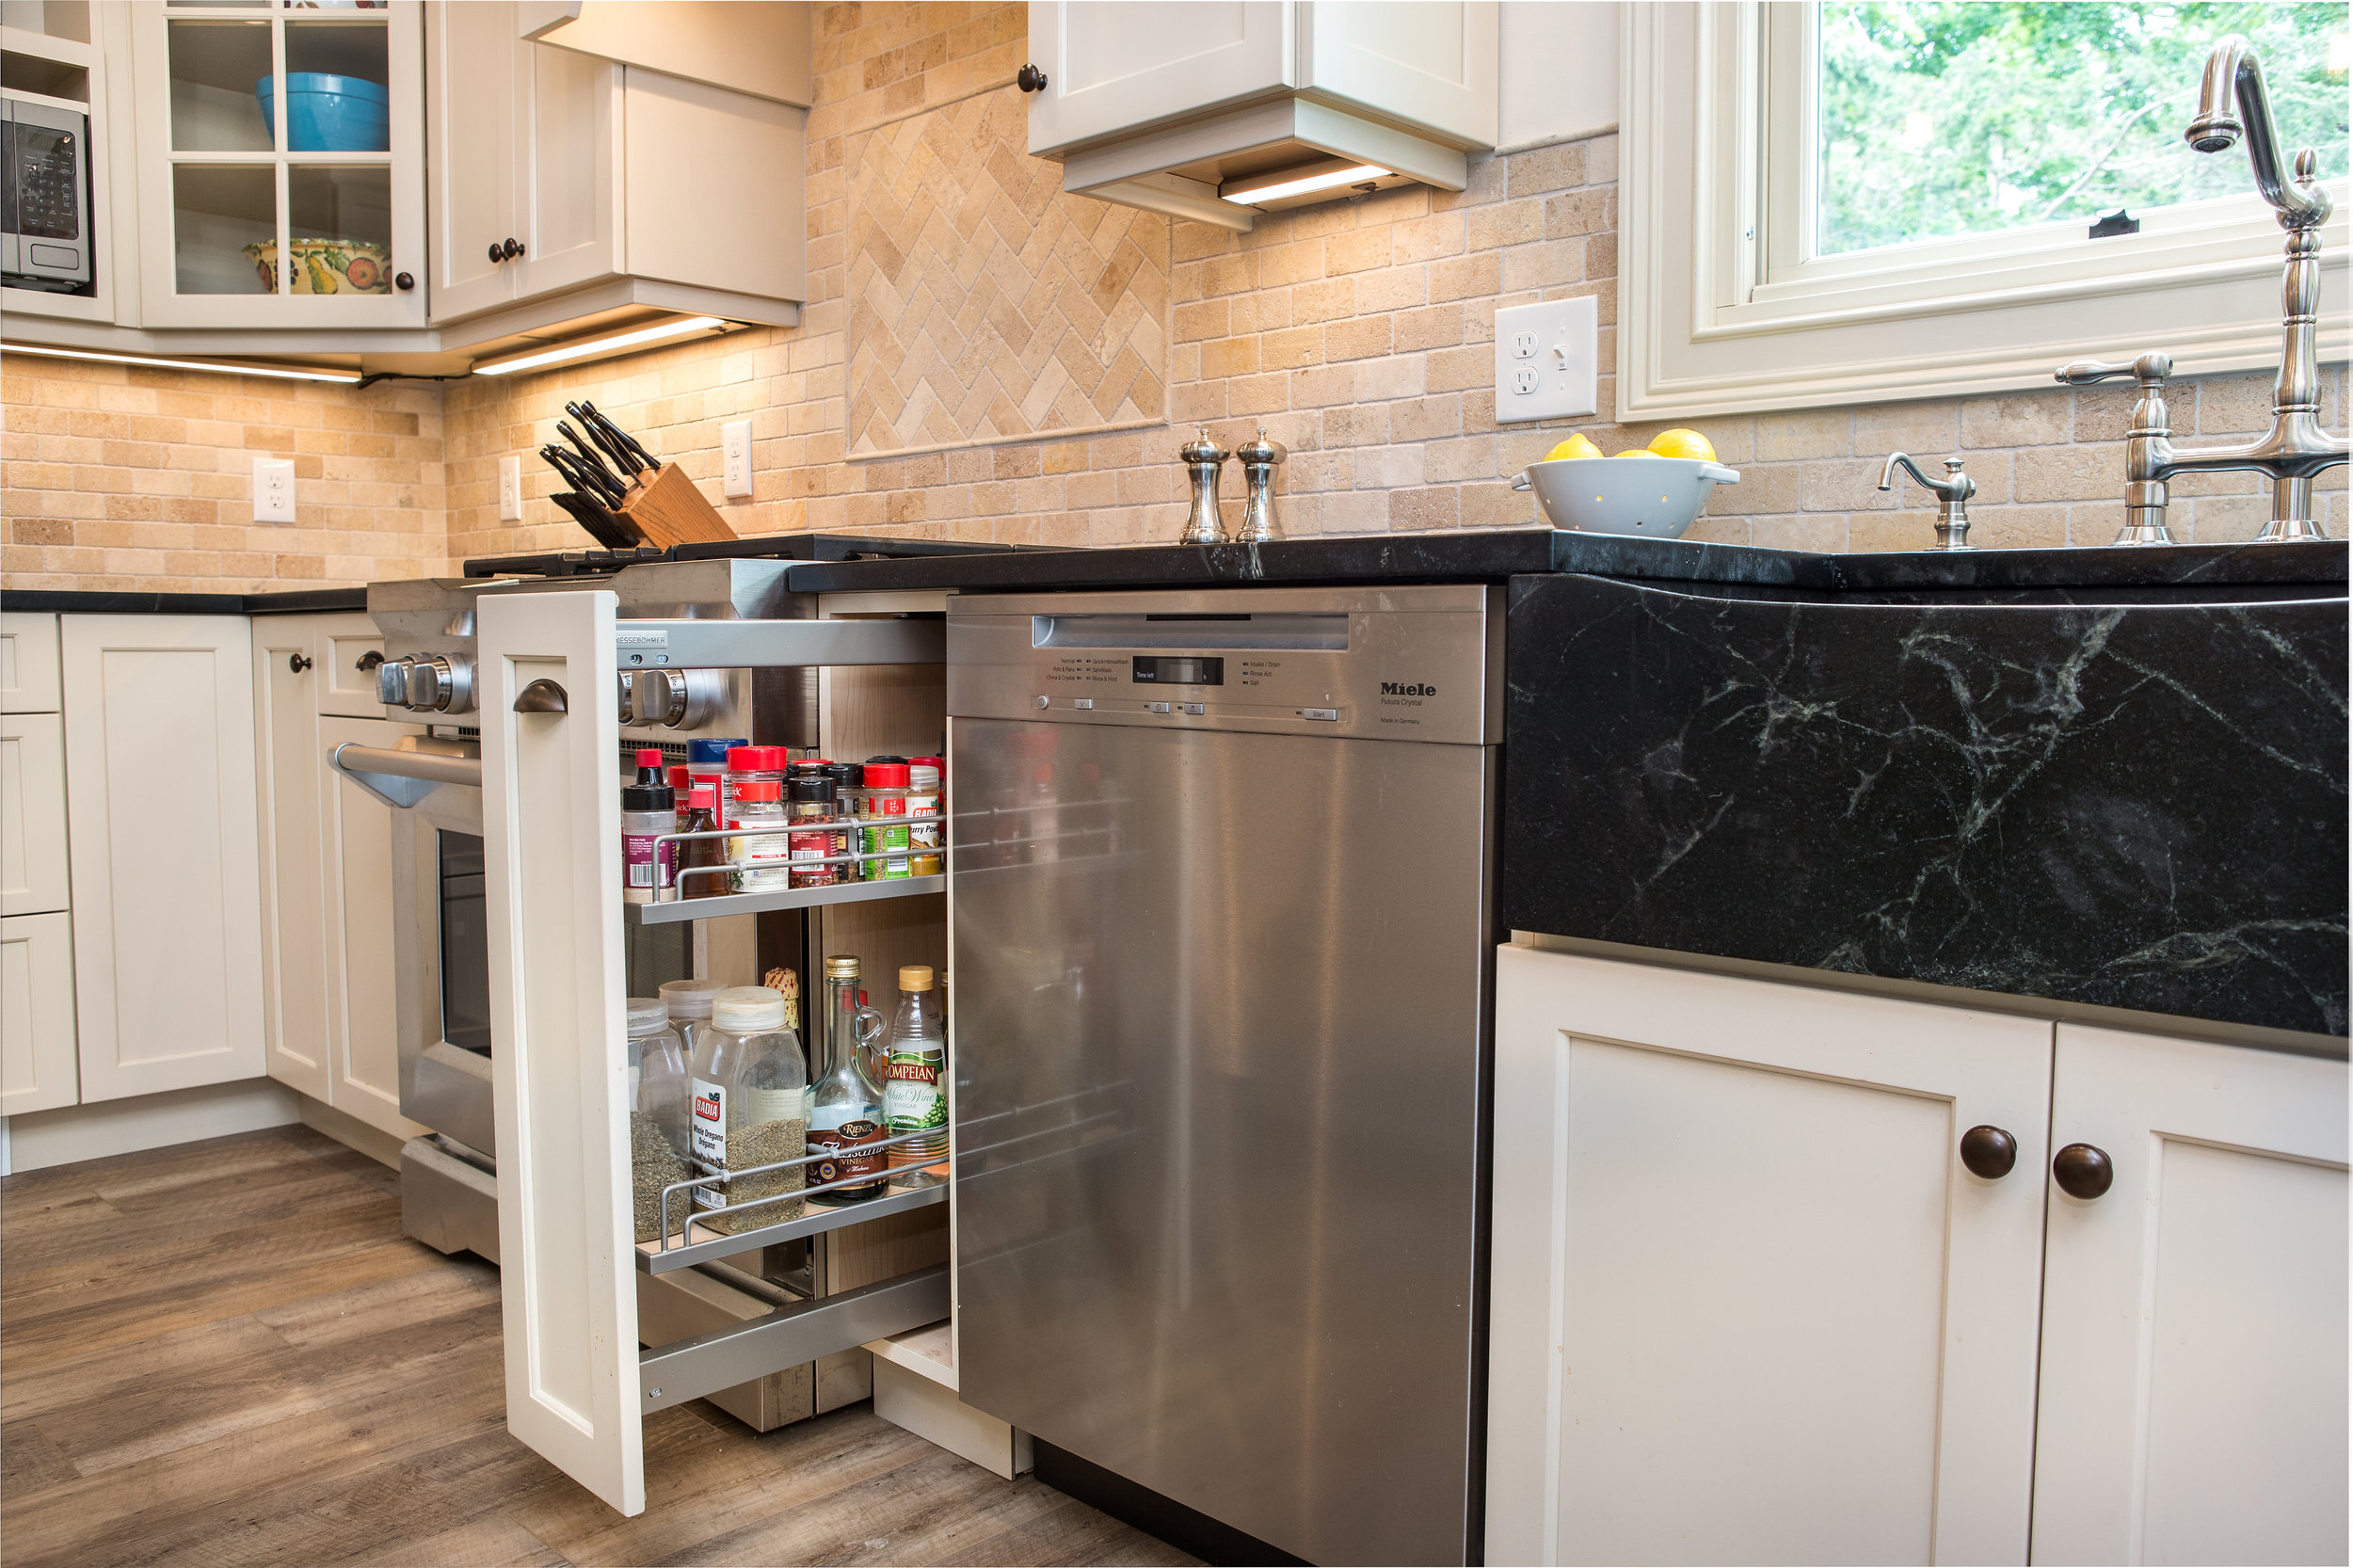
The Subzero brand is known for their patented technologies which create the perfect refrigeration environment.  The Wolf brand is known for top of the line, professional cooking appliances readily available for the home chef (more than just the symbolic "red knobs").  Now, with ever changing technology and trends it’s important for Subzero/Wolf to keep up with the times without sacrificing quality and functionality.  We spent a lot of time discussing how modern technology, such as inter-connectivity, is being incorporated into their own appliances. Seeing how the products work with devices such as phones and tablets was a look into the future of kitchen design and how we function in our homes. These advancements paired with the company’s years of expertise truly makes for a special product. 

*Pro Tip - Keep an eye out for the release of the Cove Dishwasher designed by Subzero/Wolf.  The next best thing in dish-washing experience!


Curated Environment

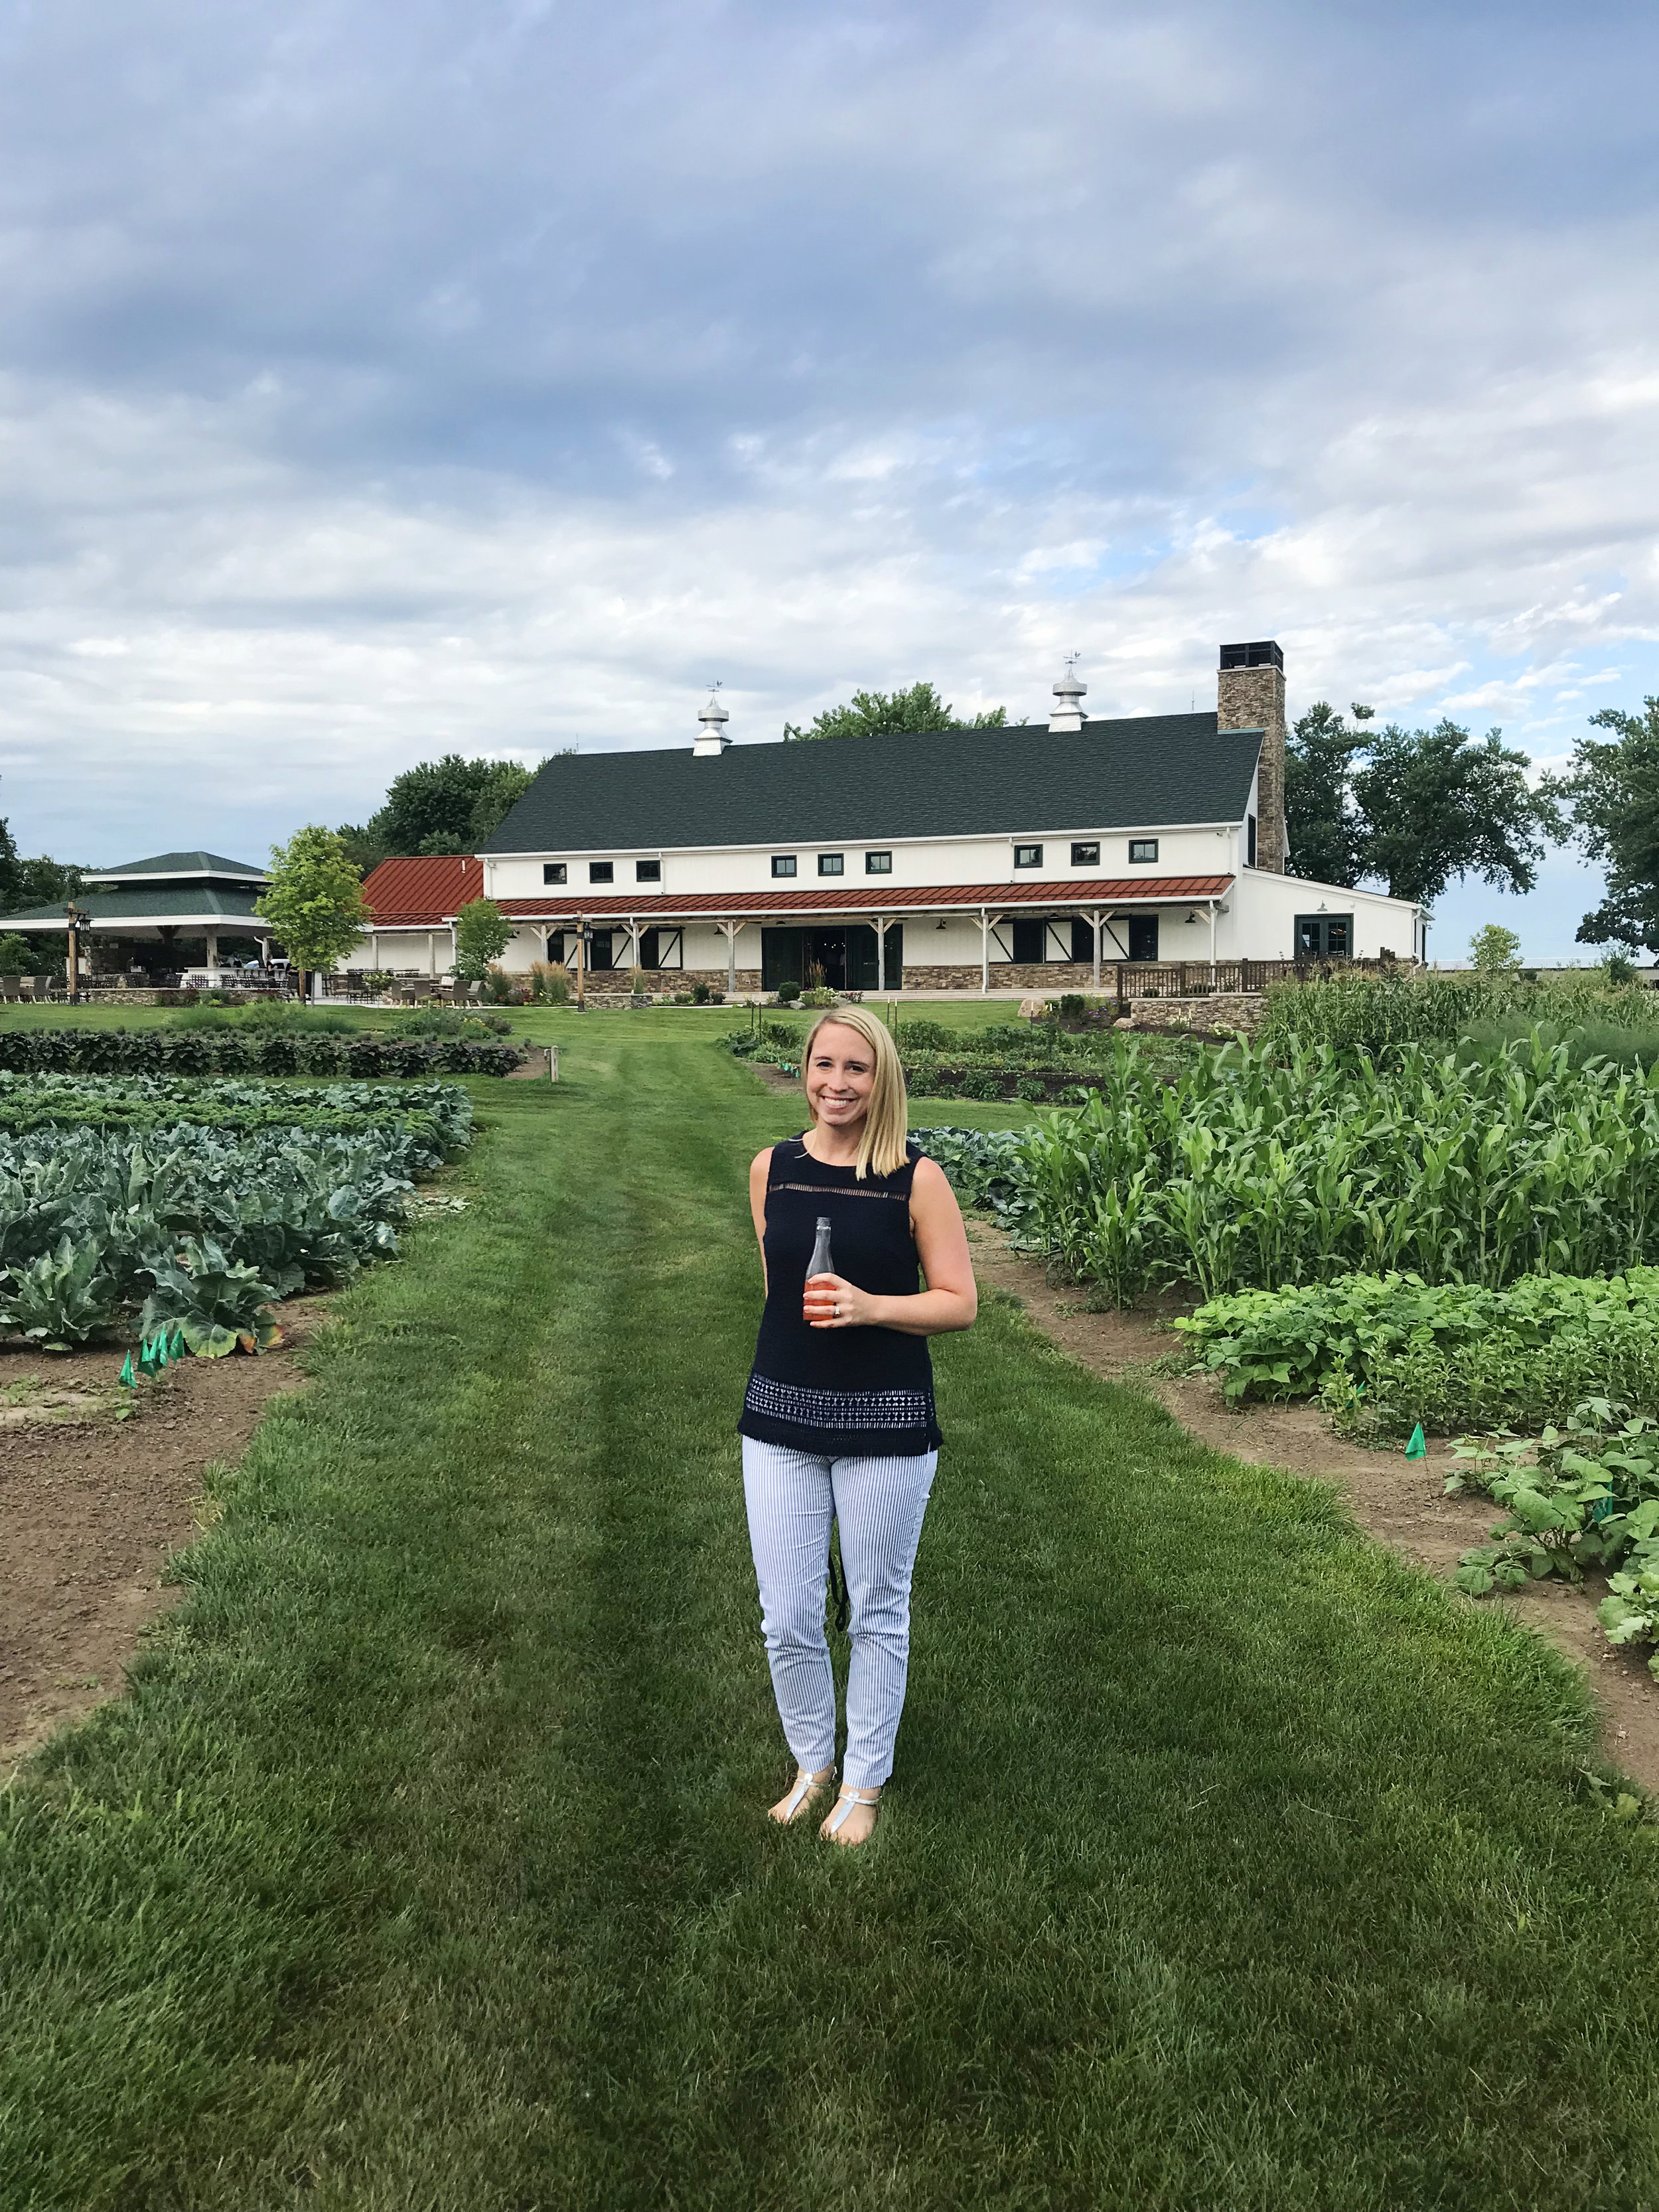
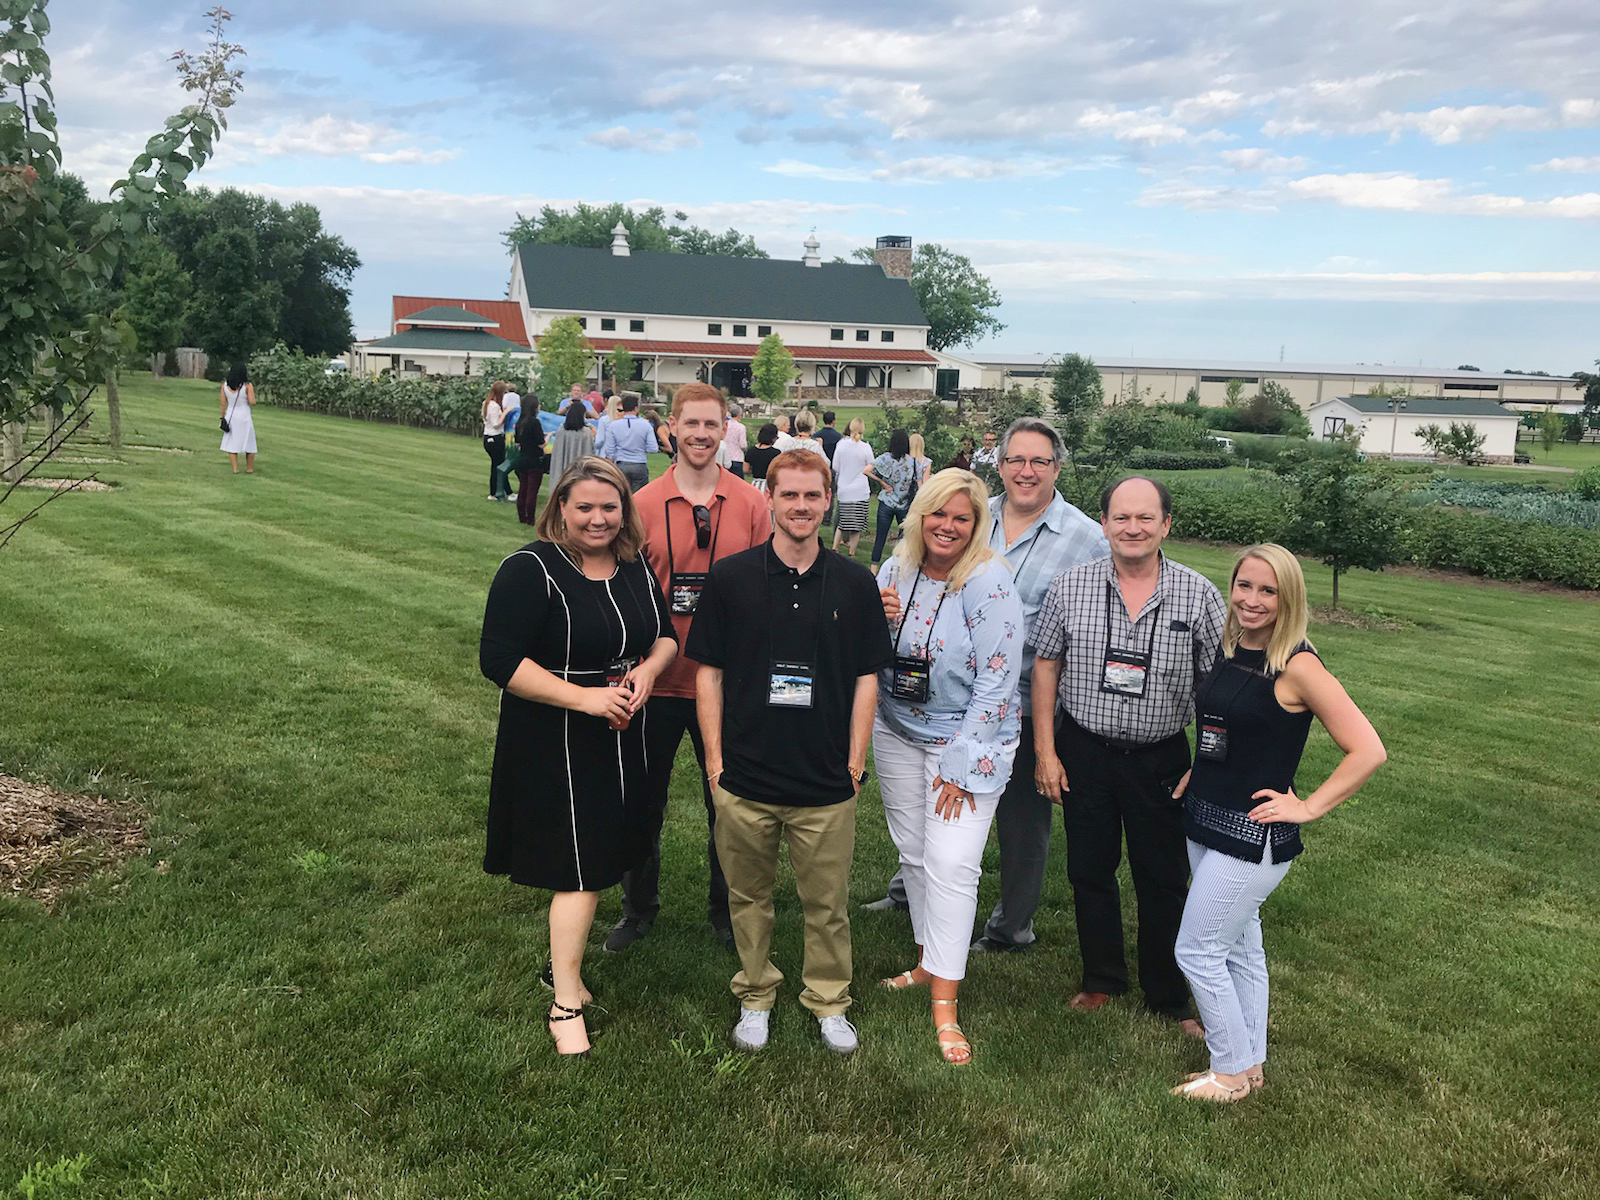
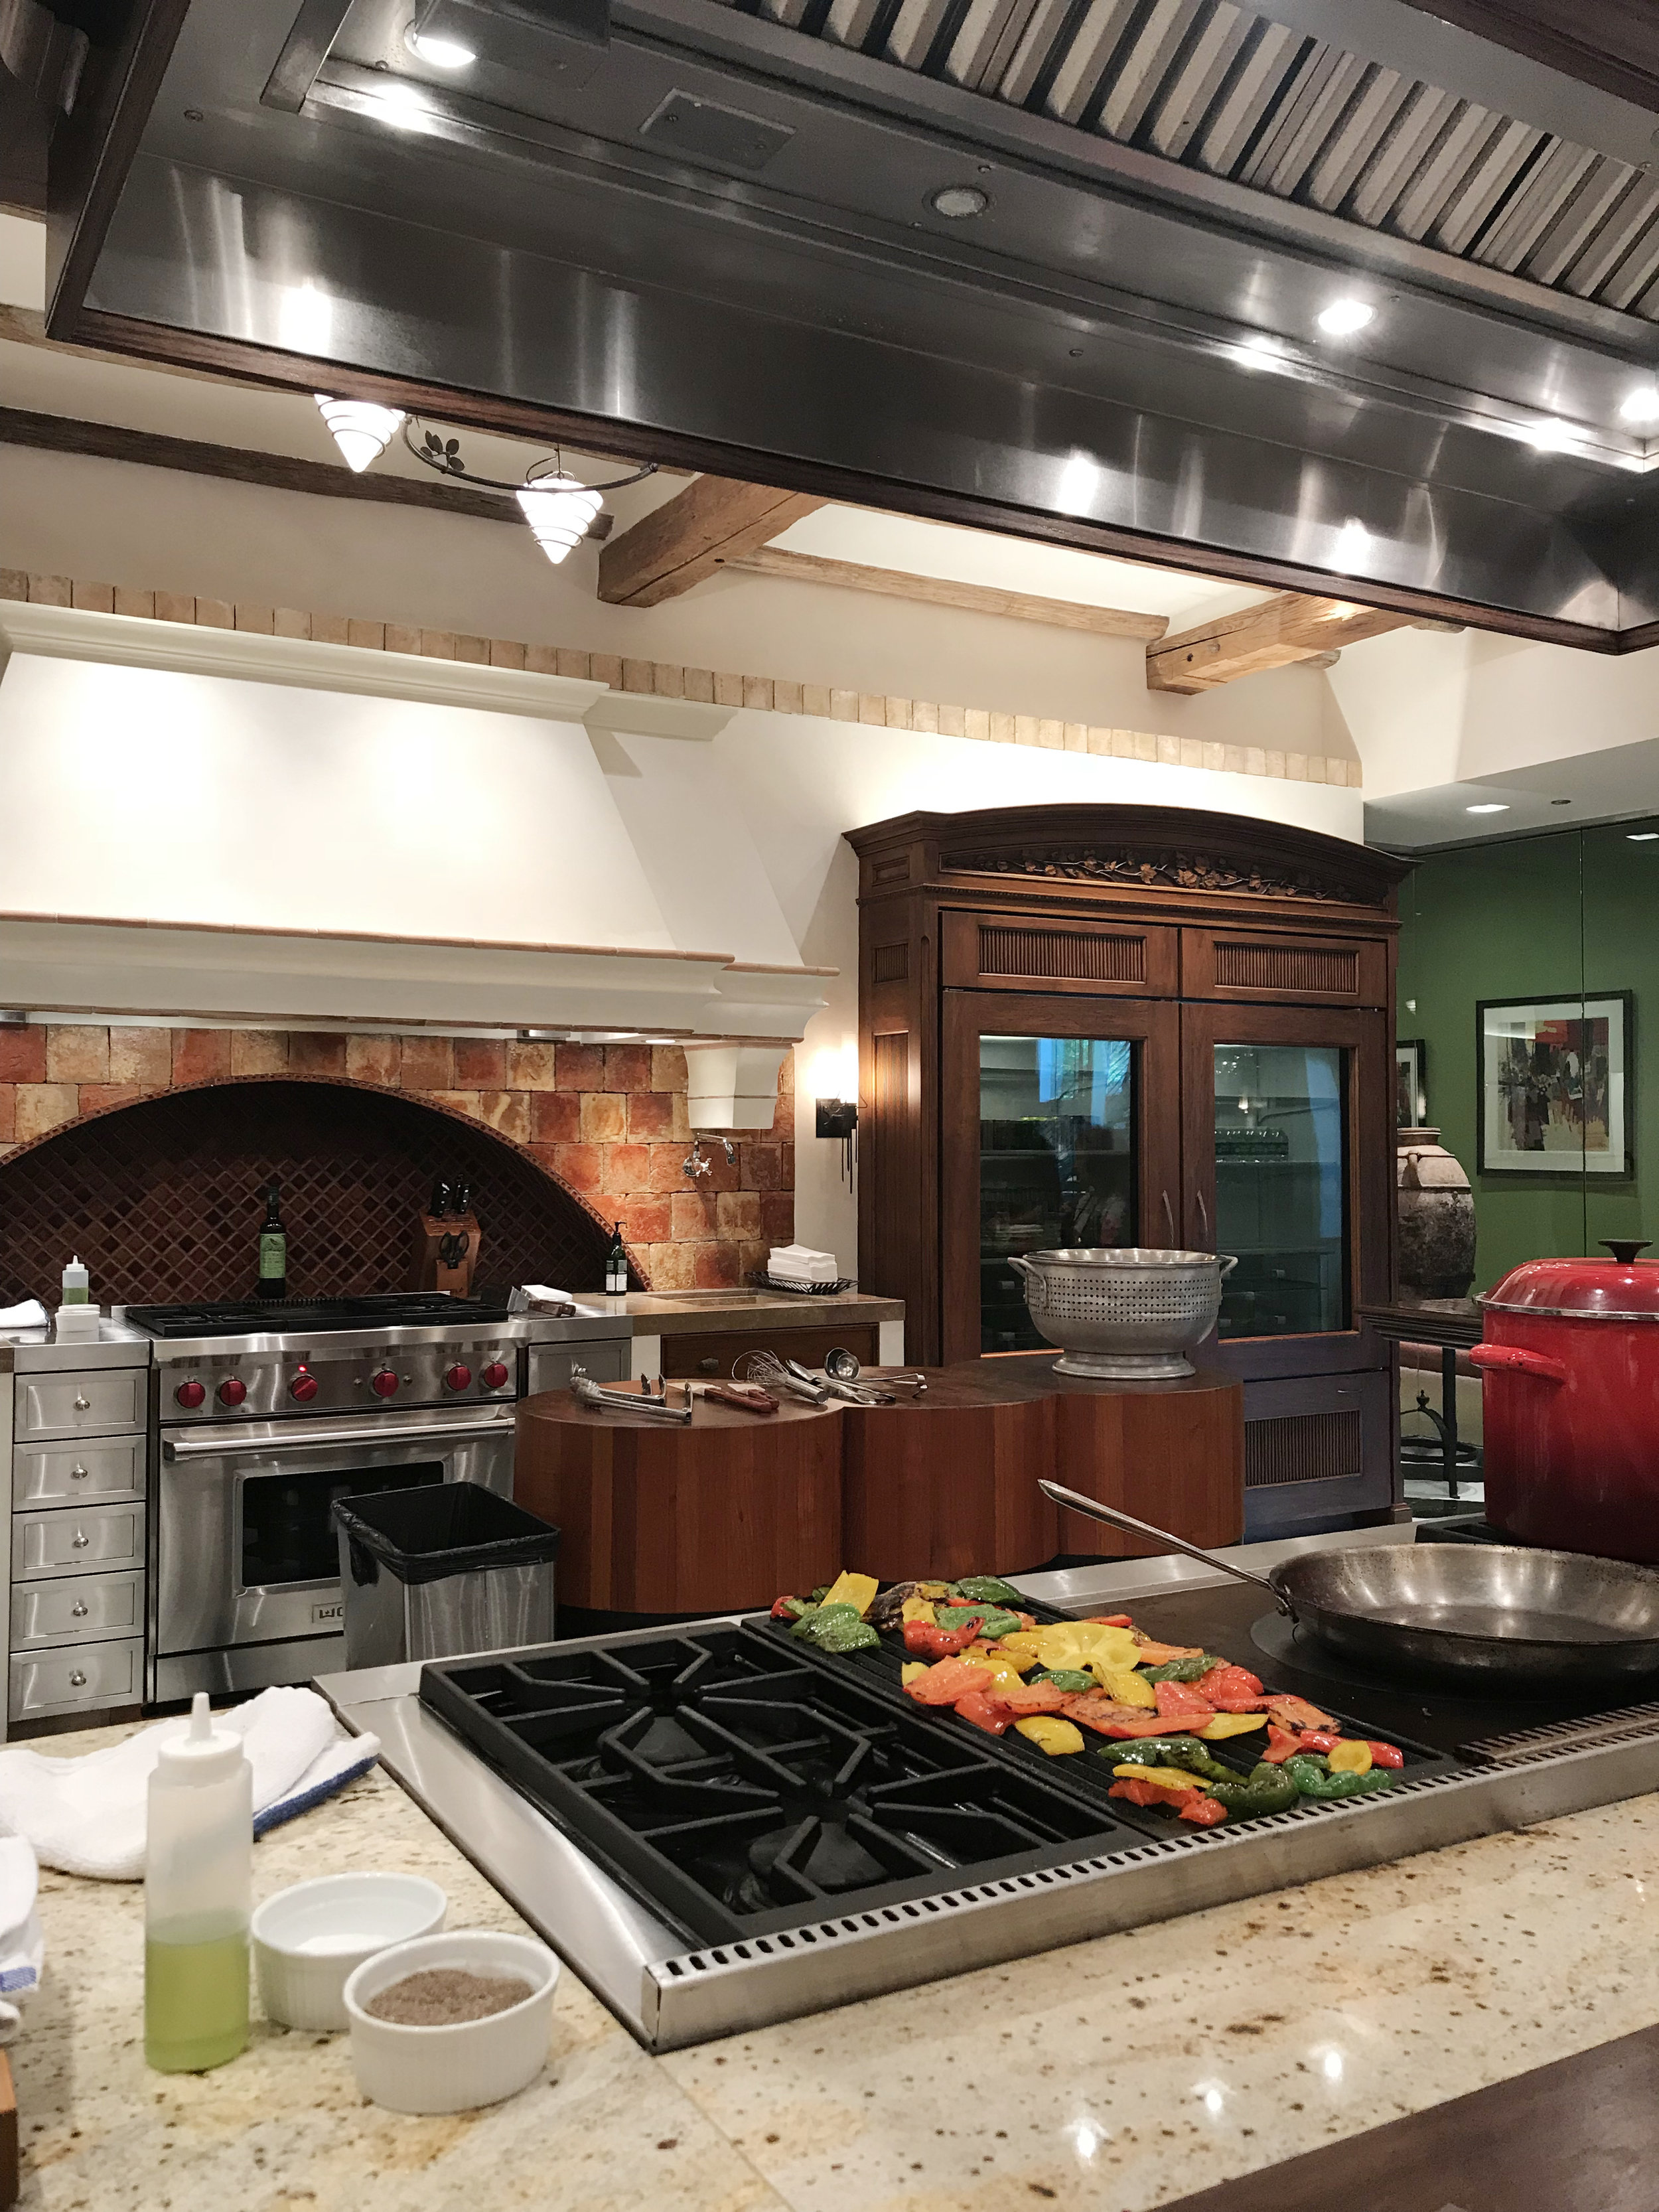
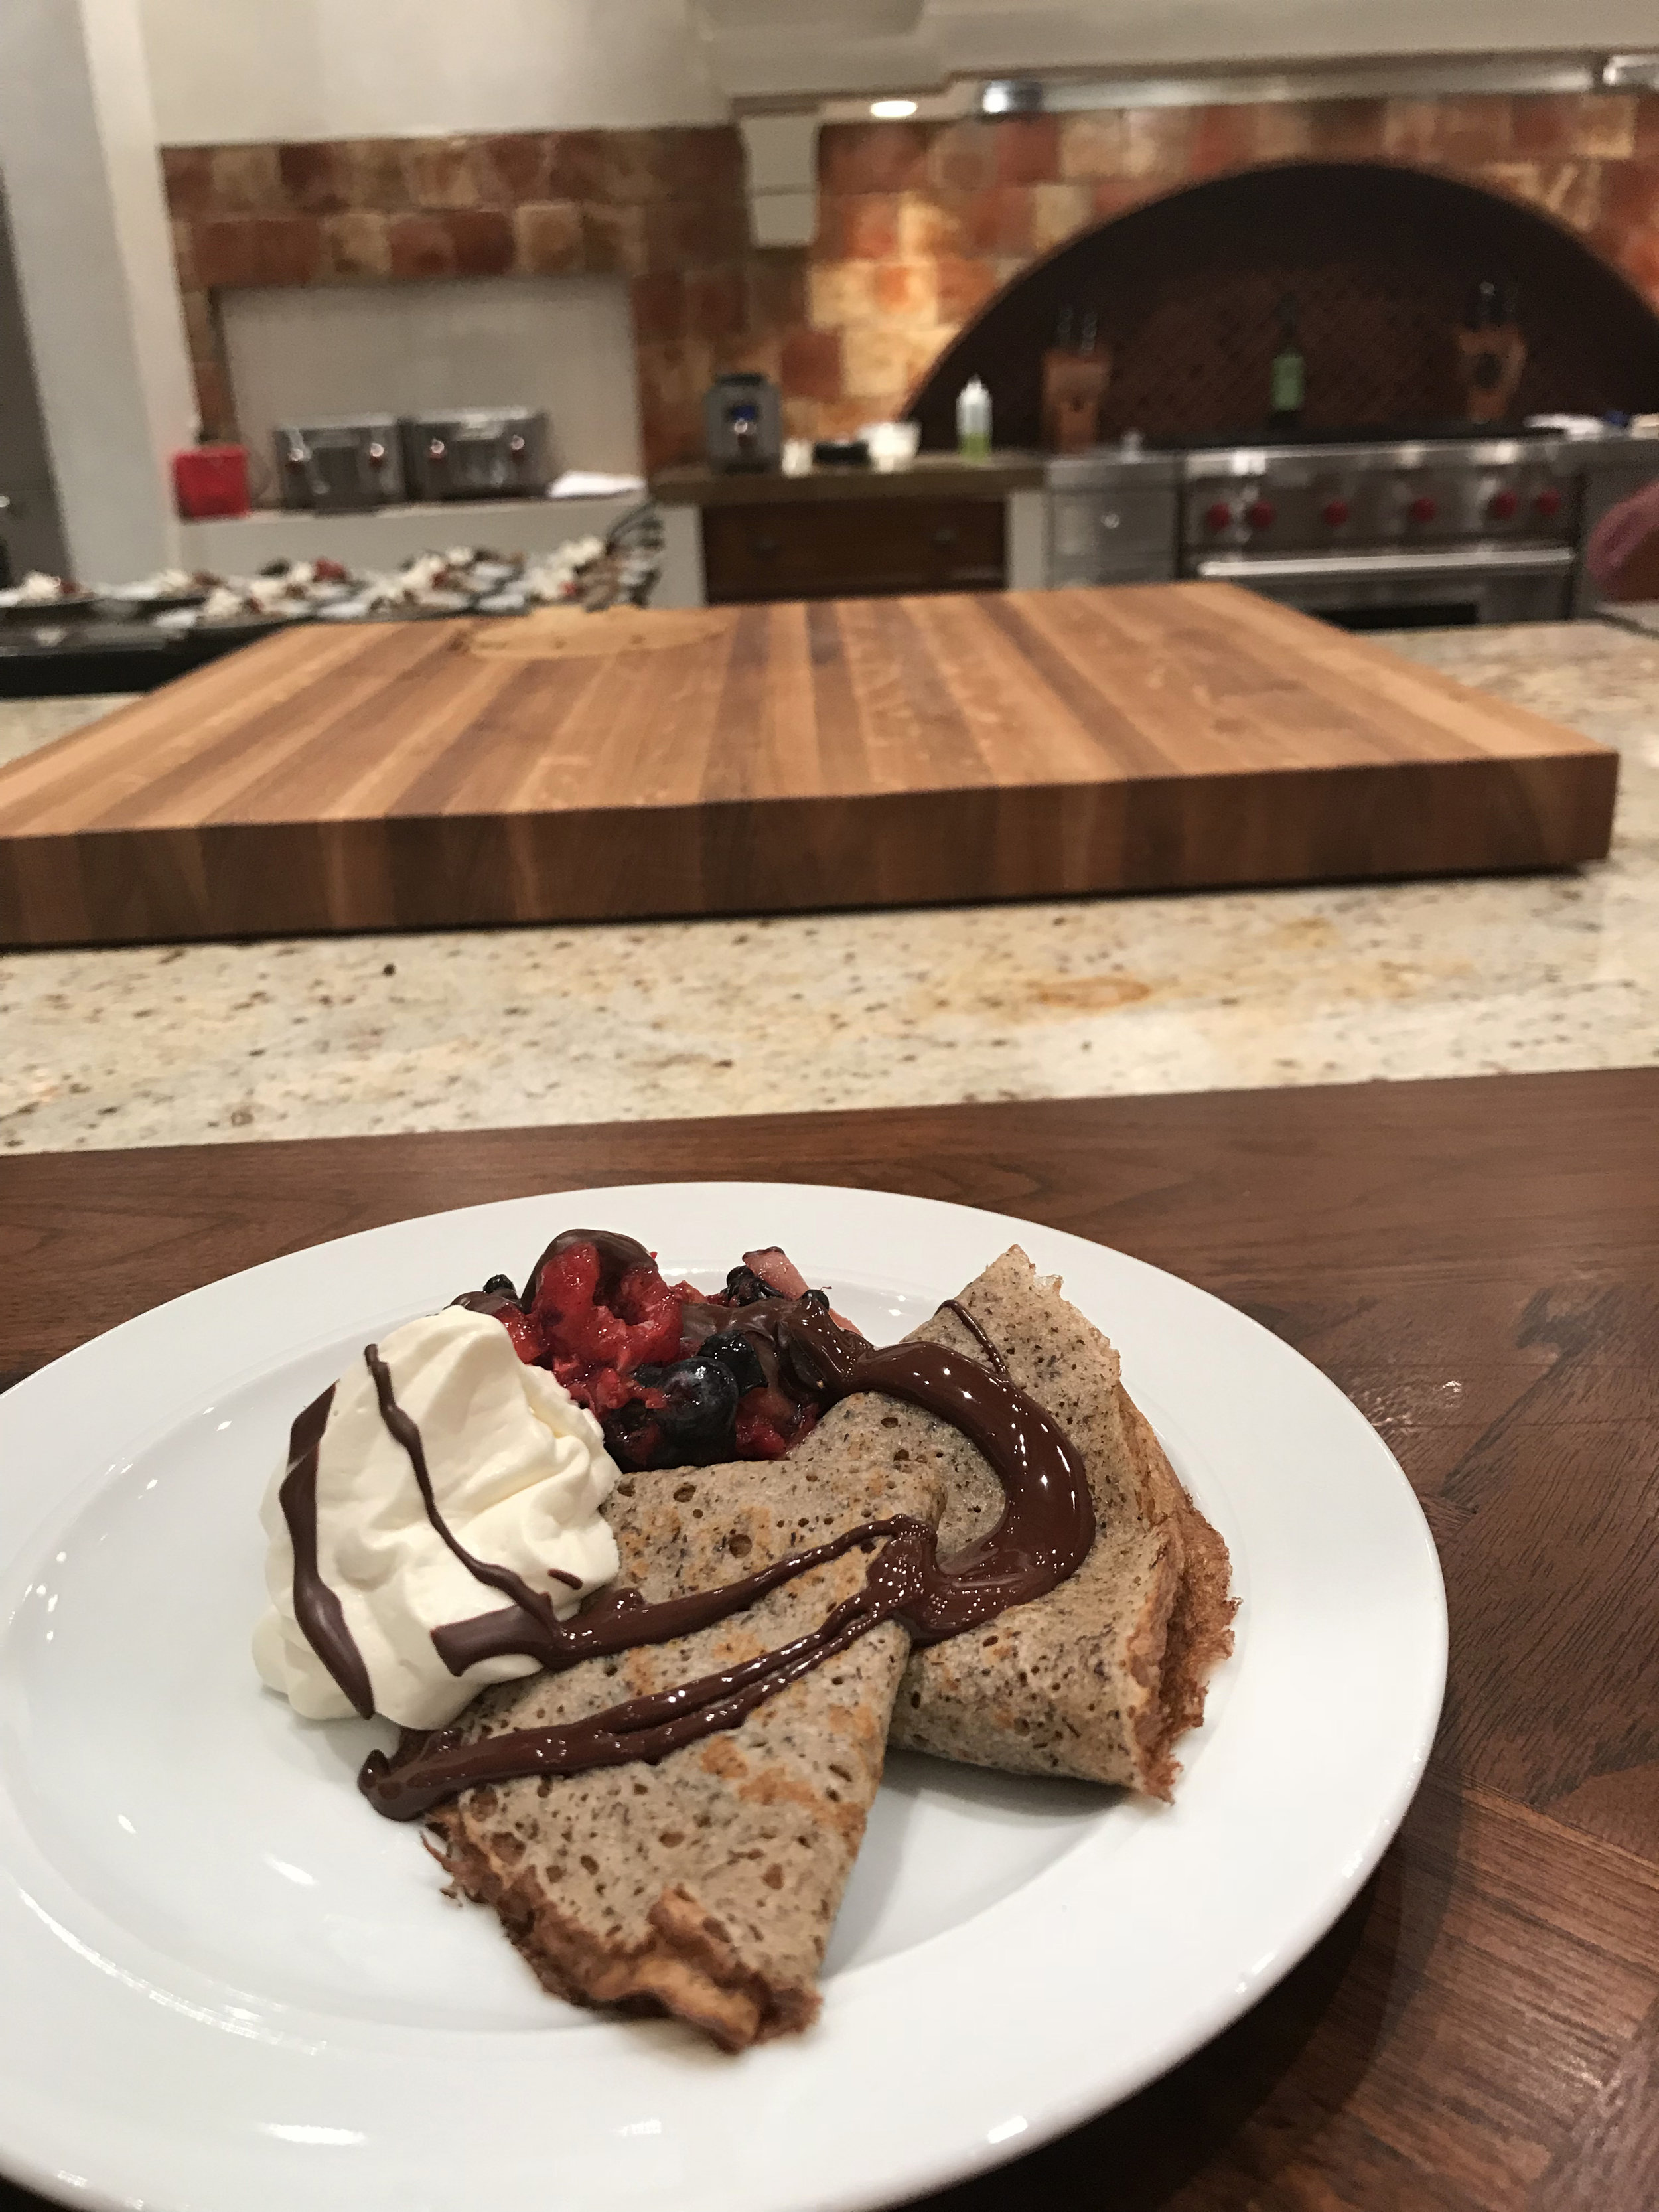
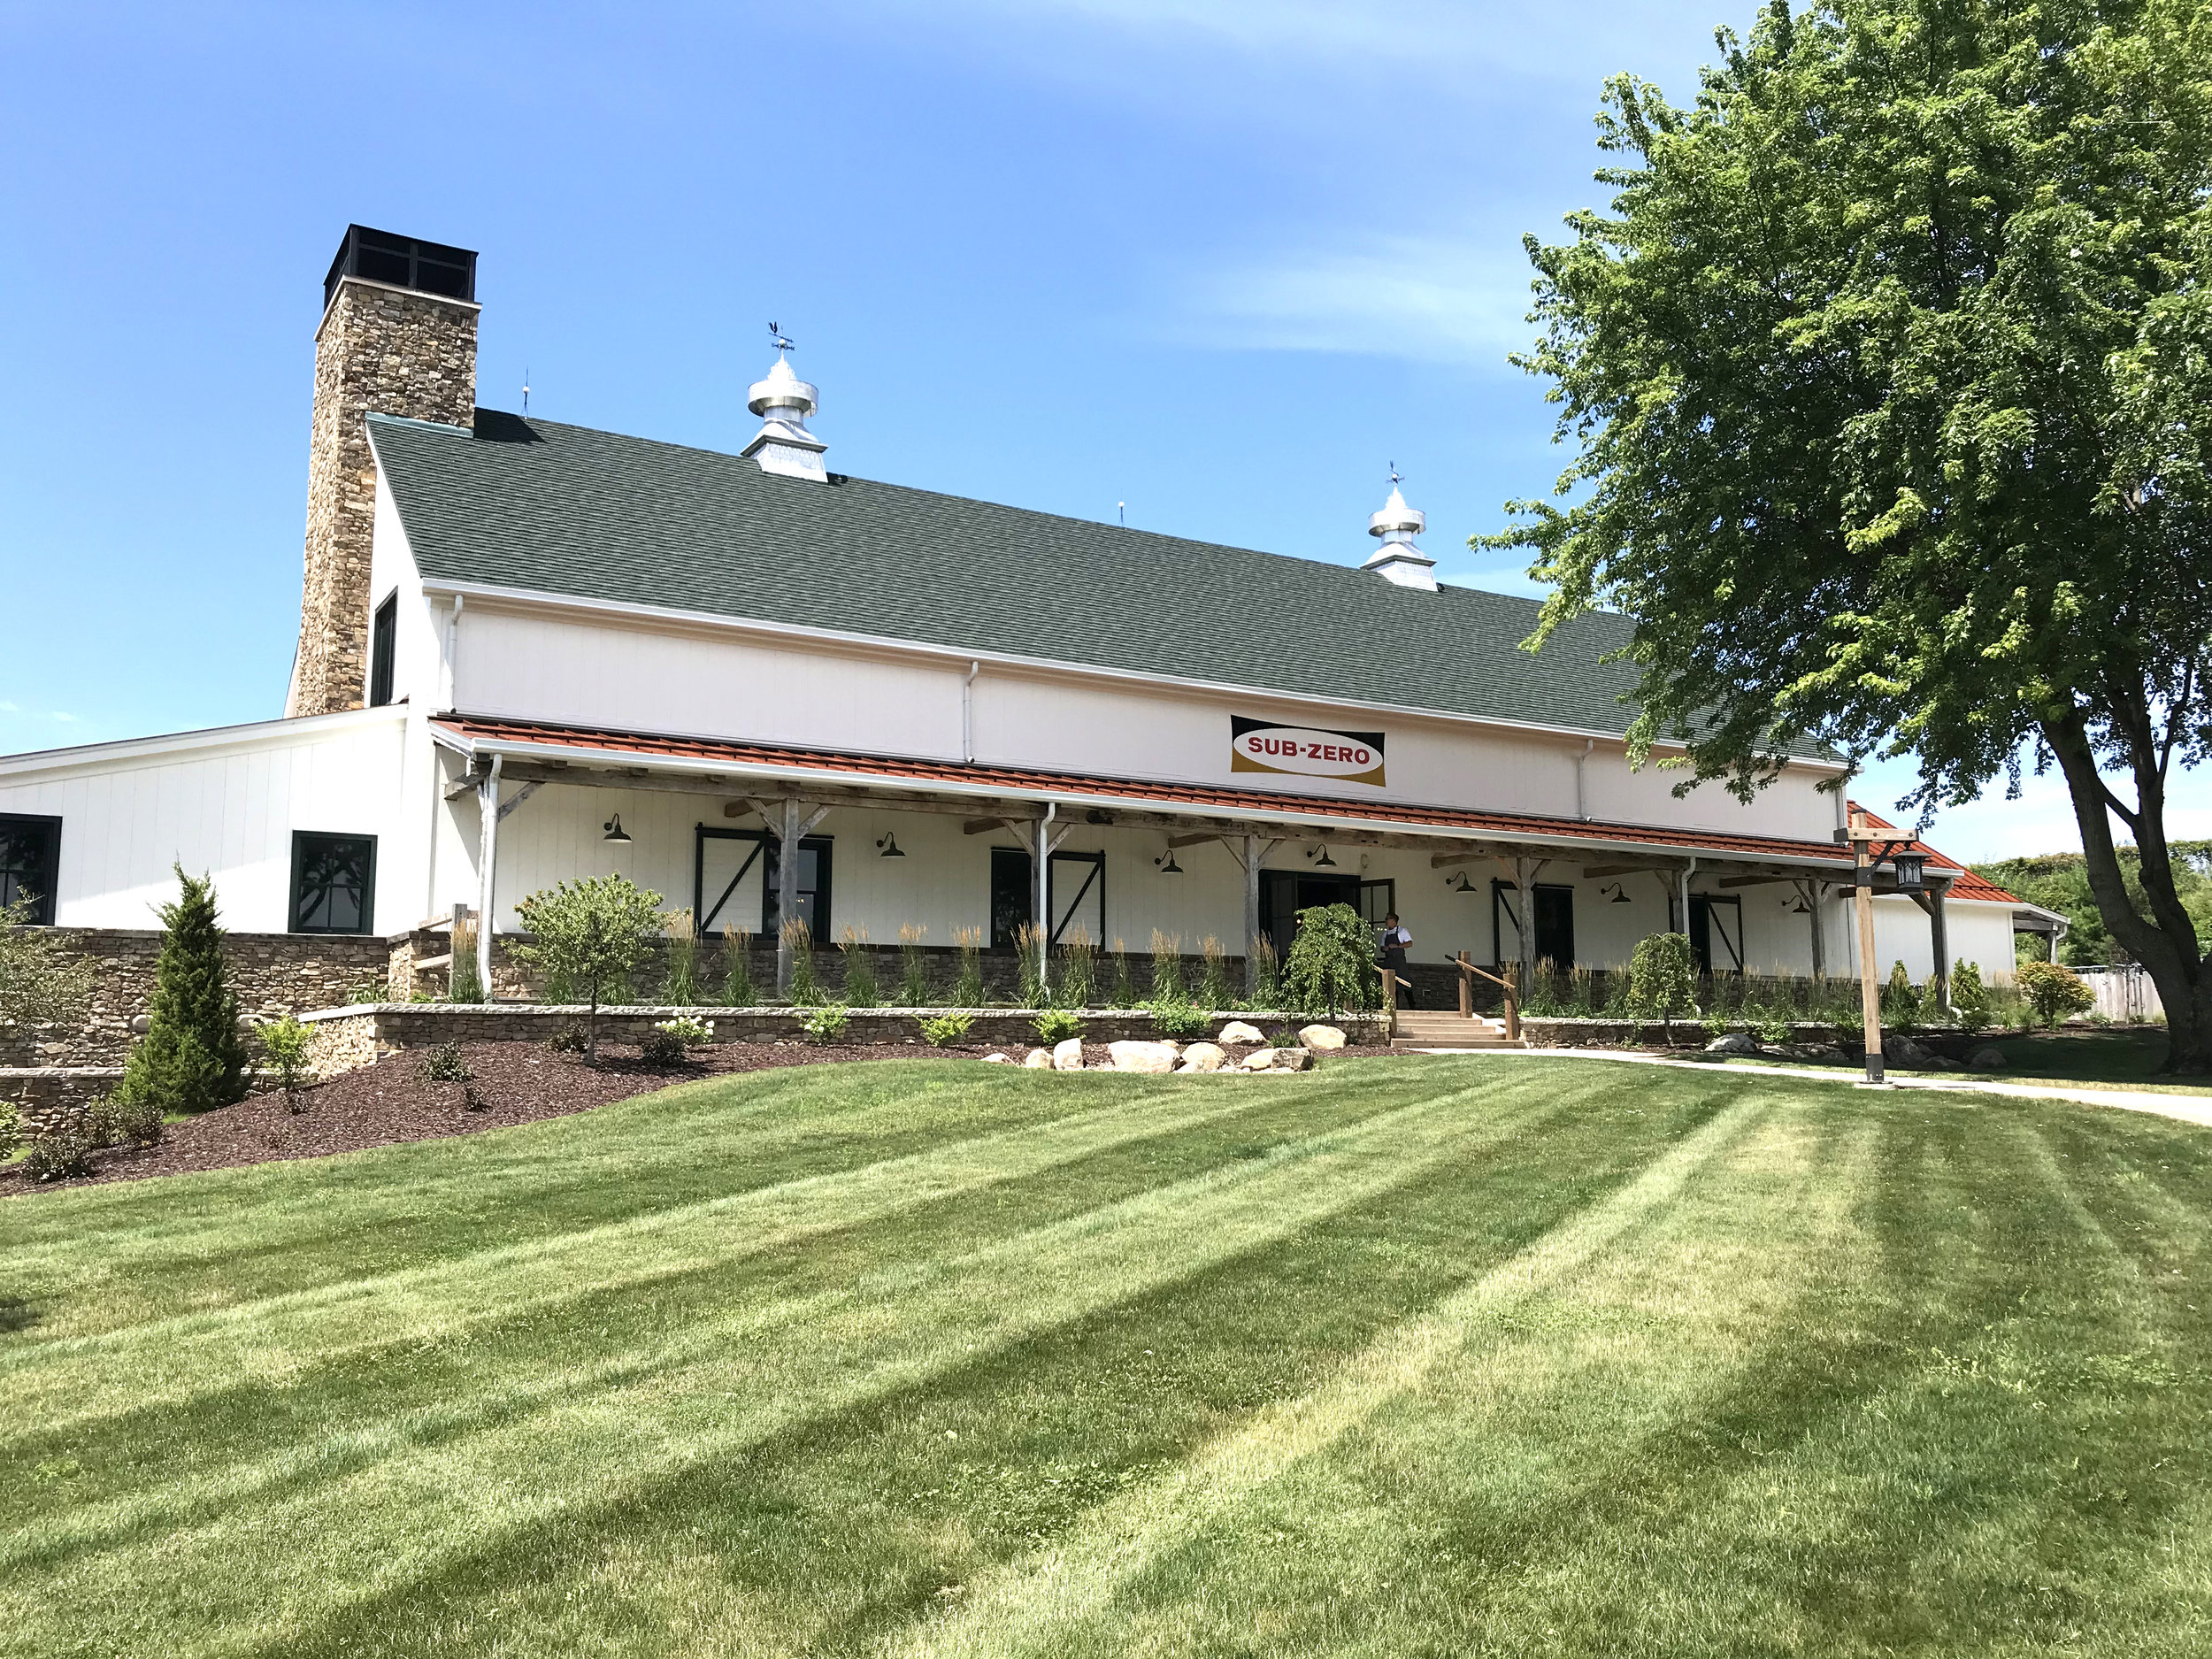
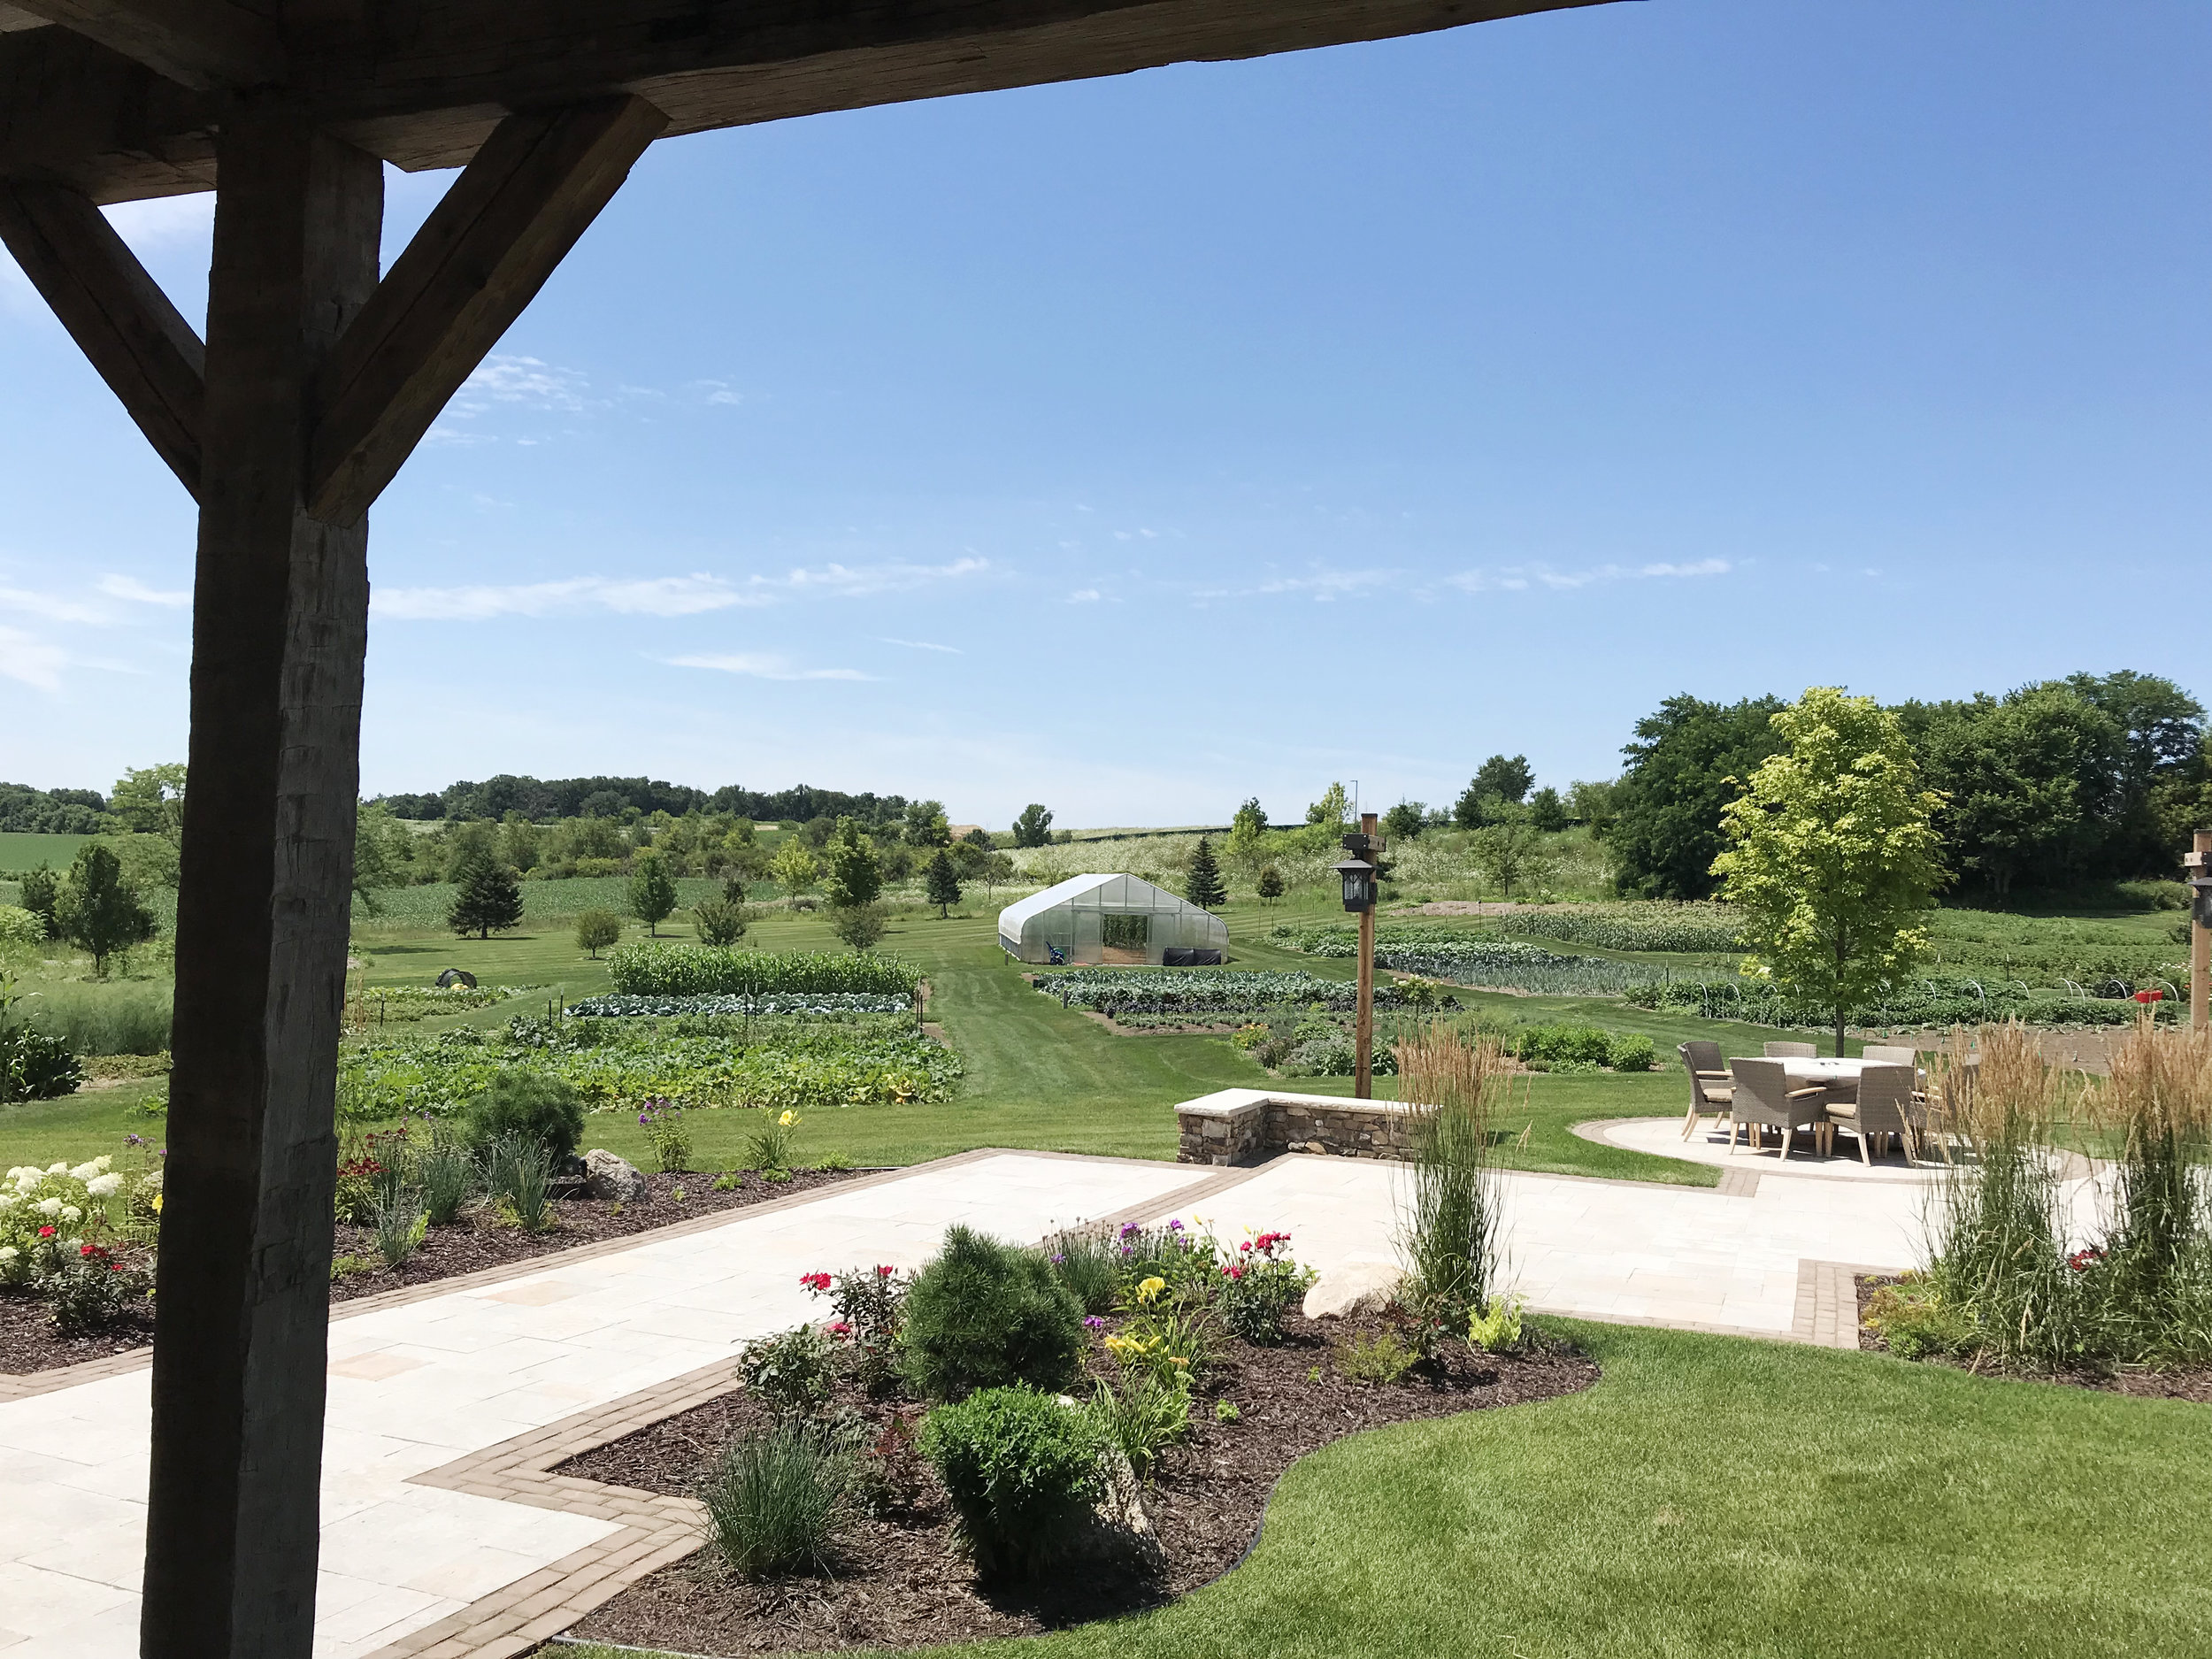
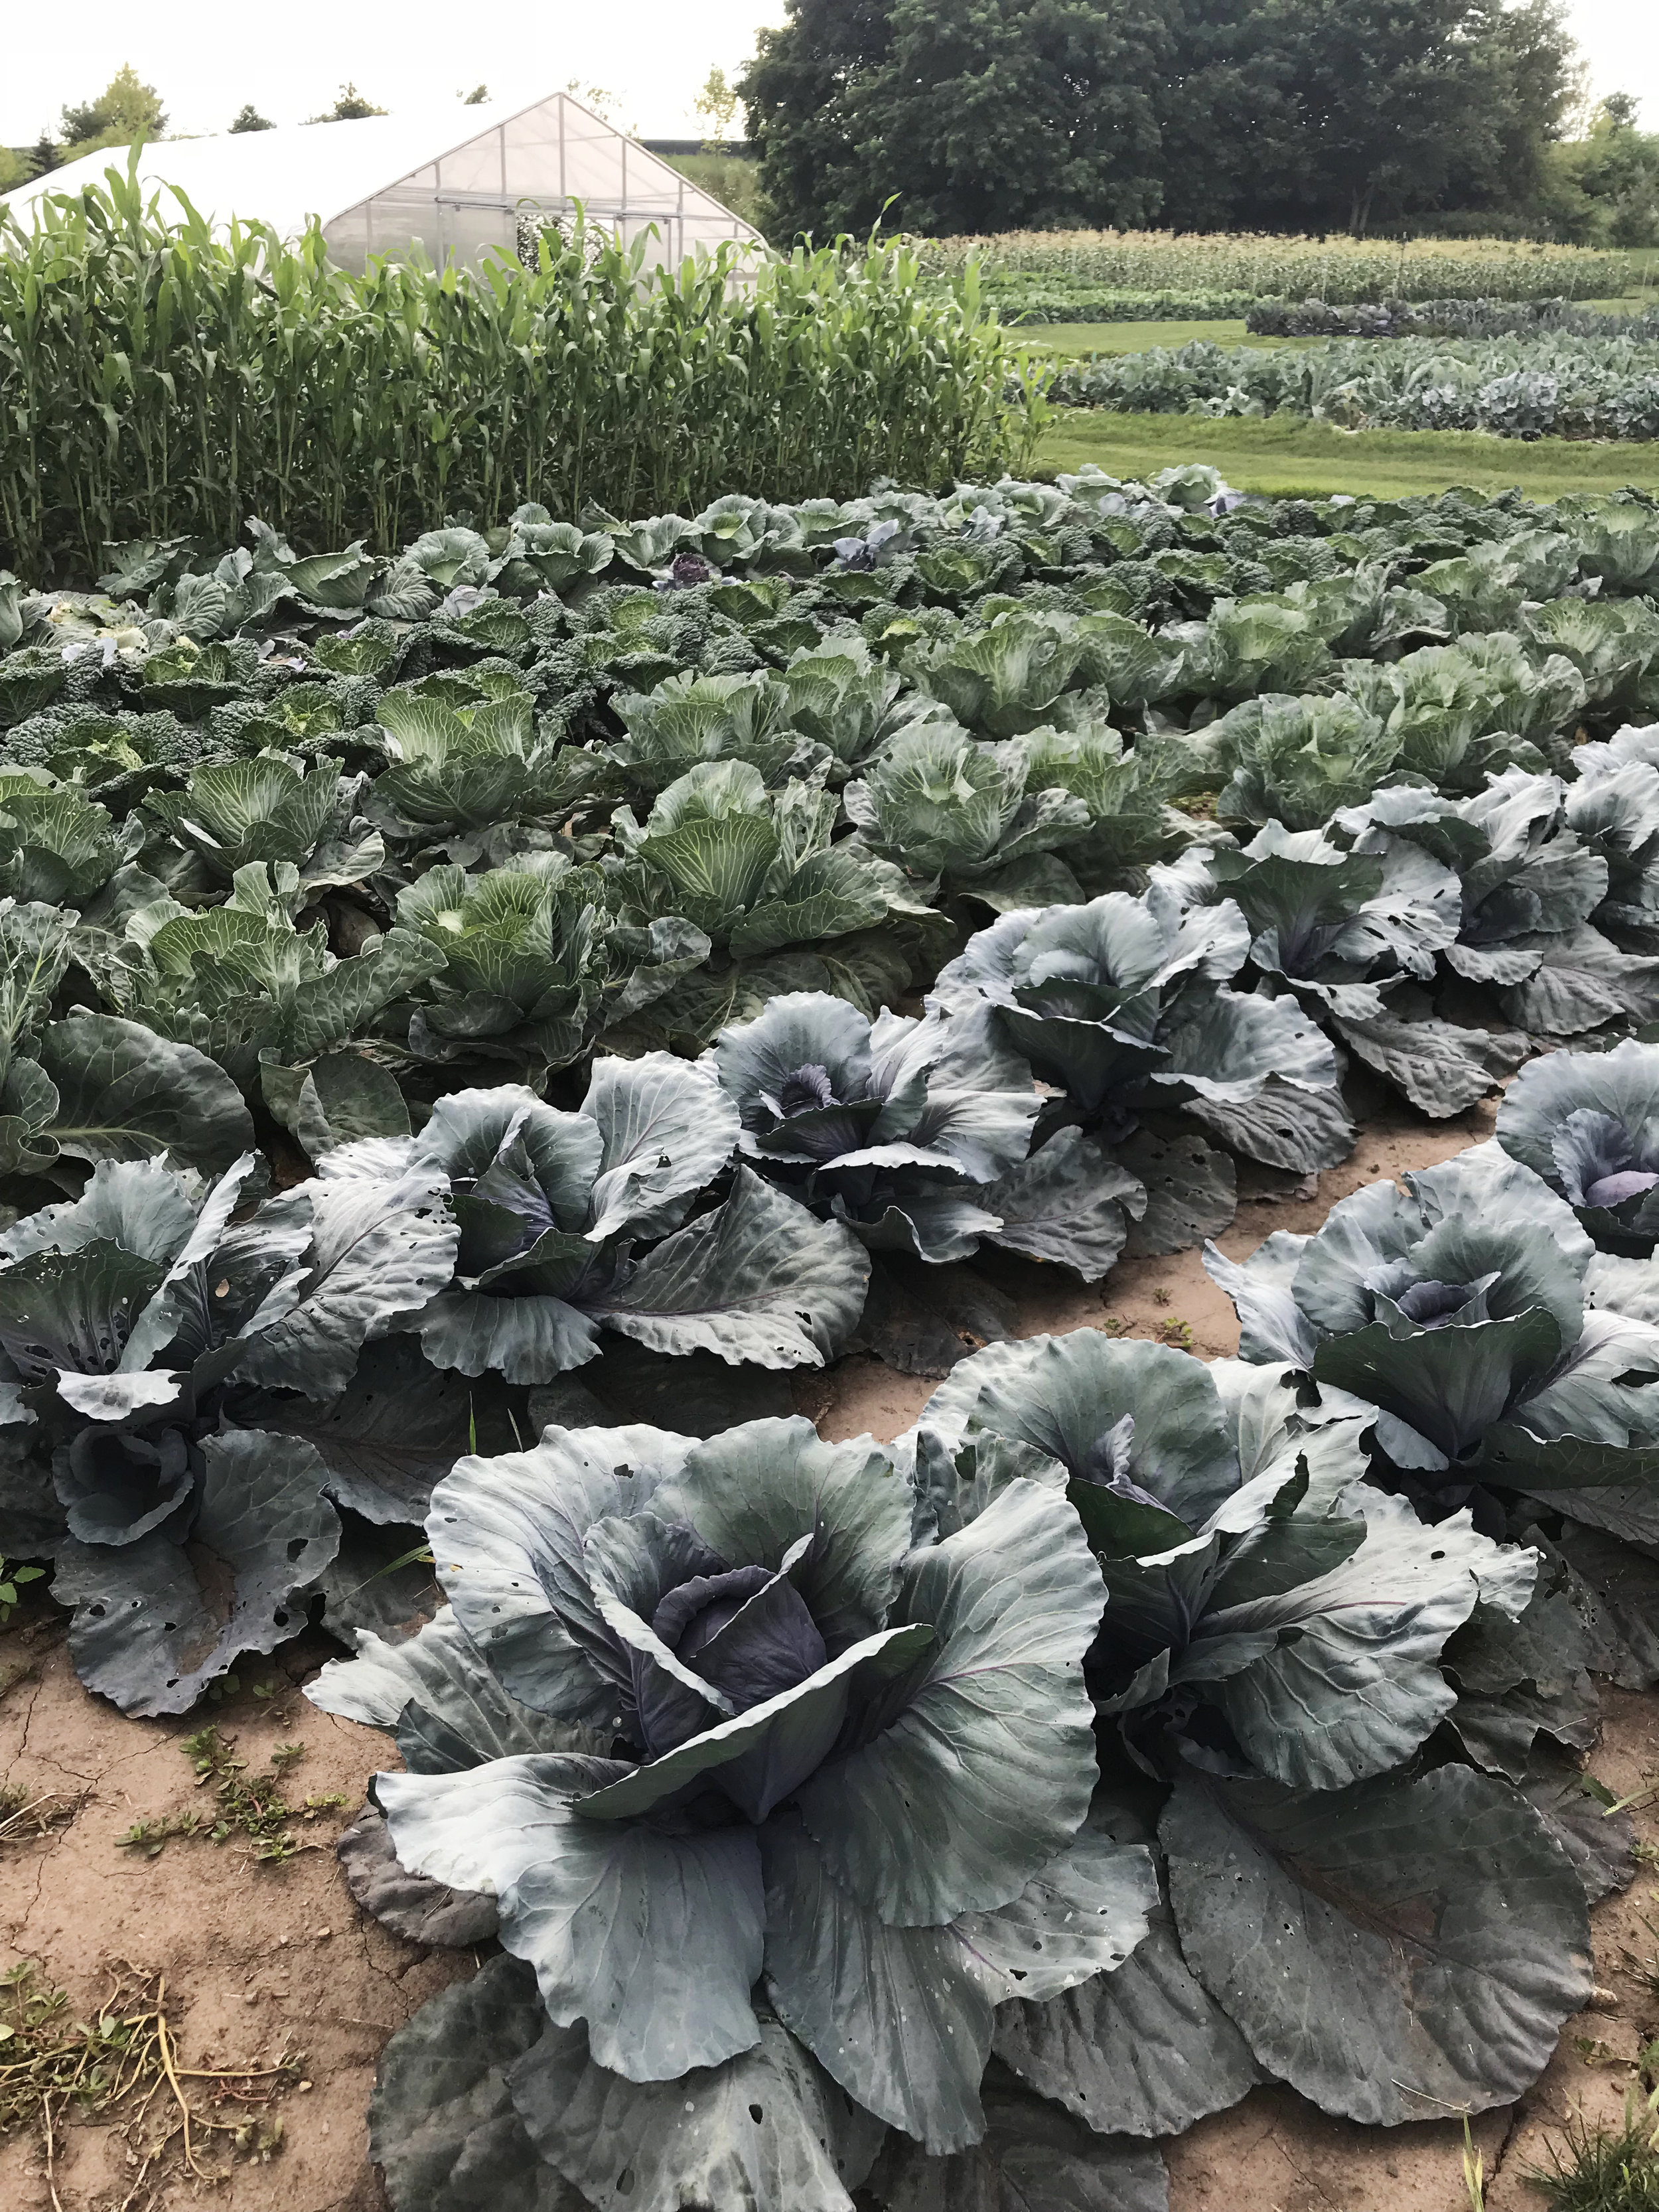
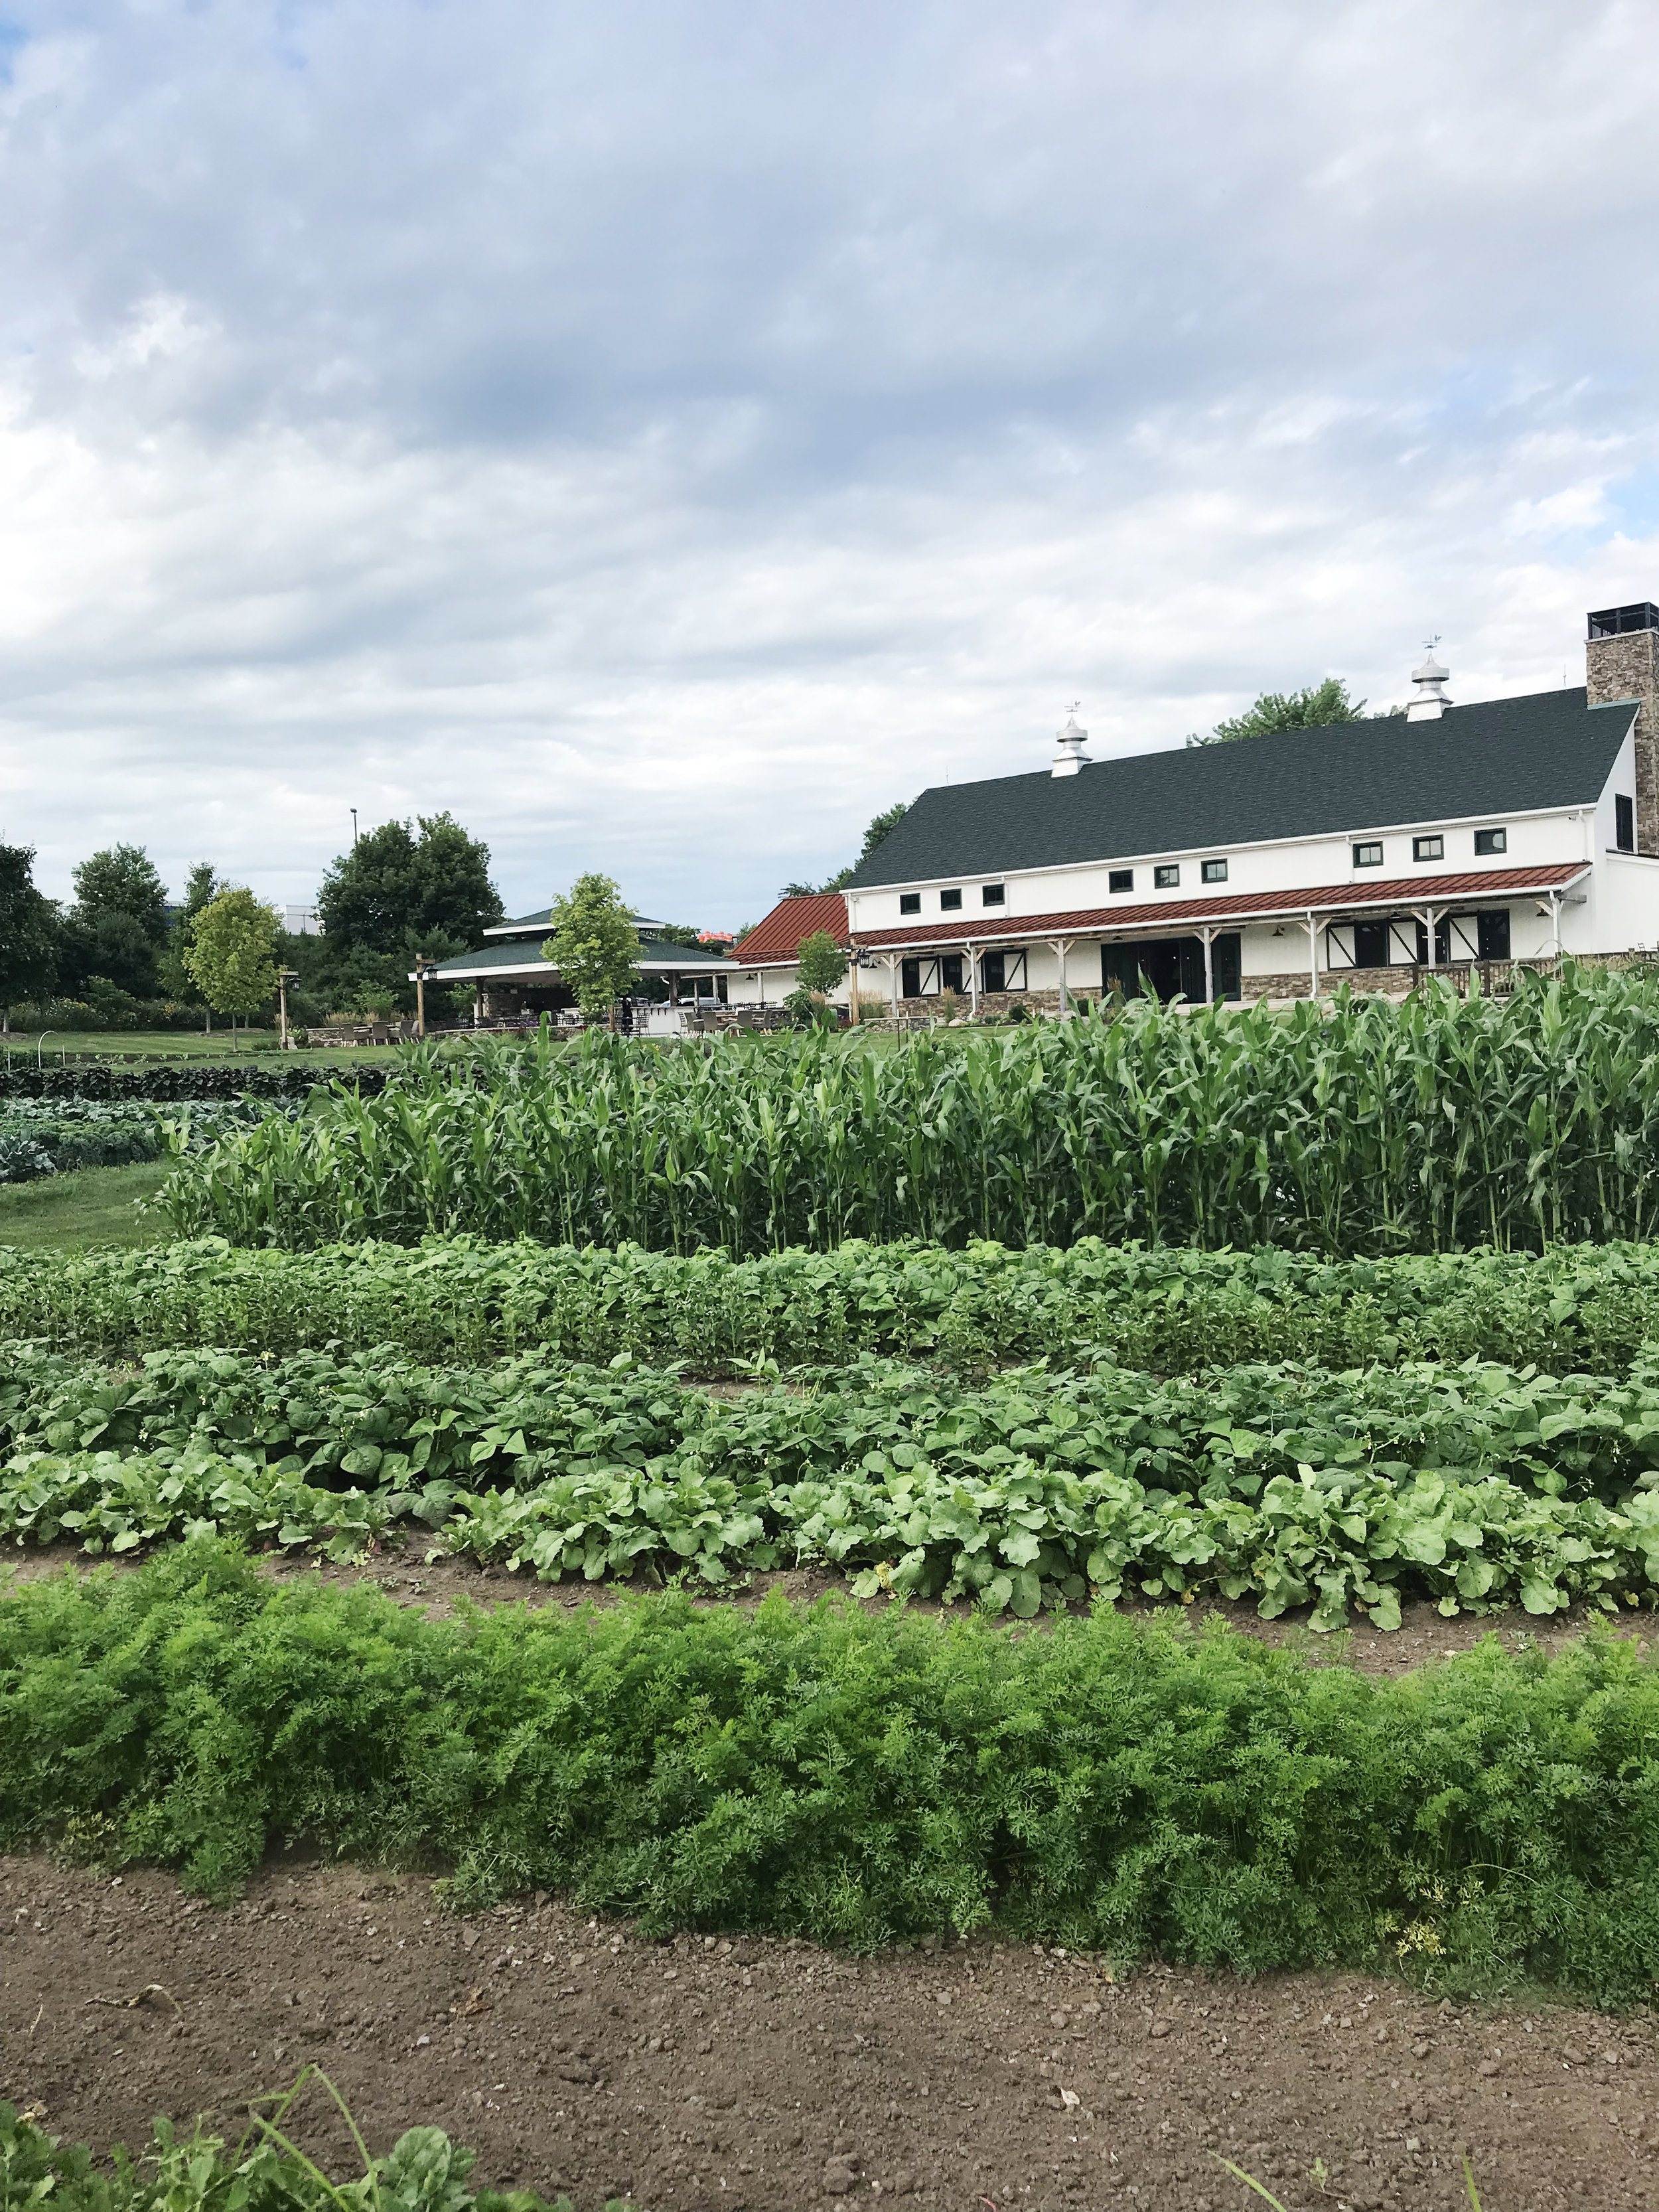
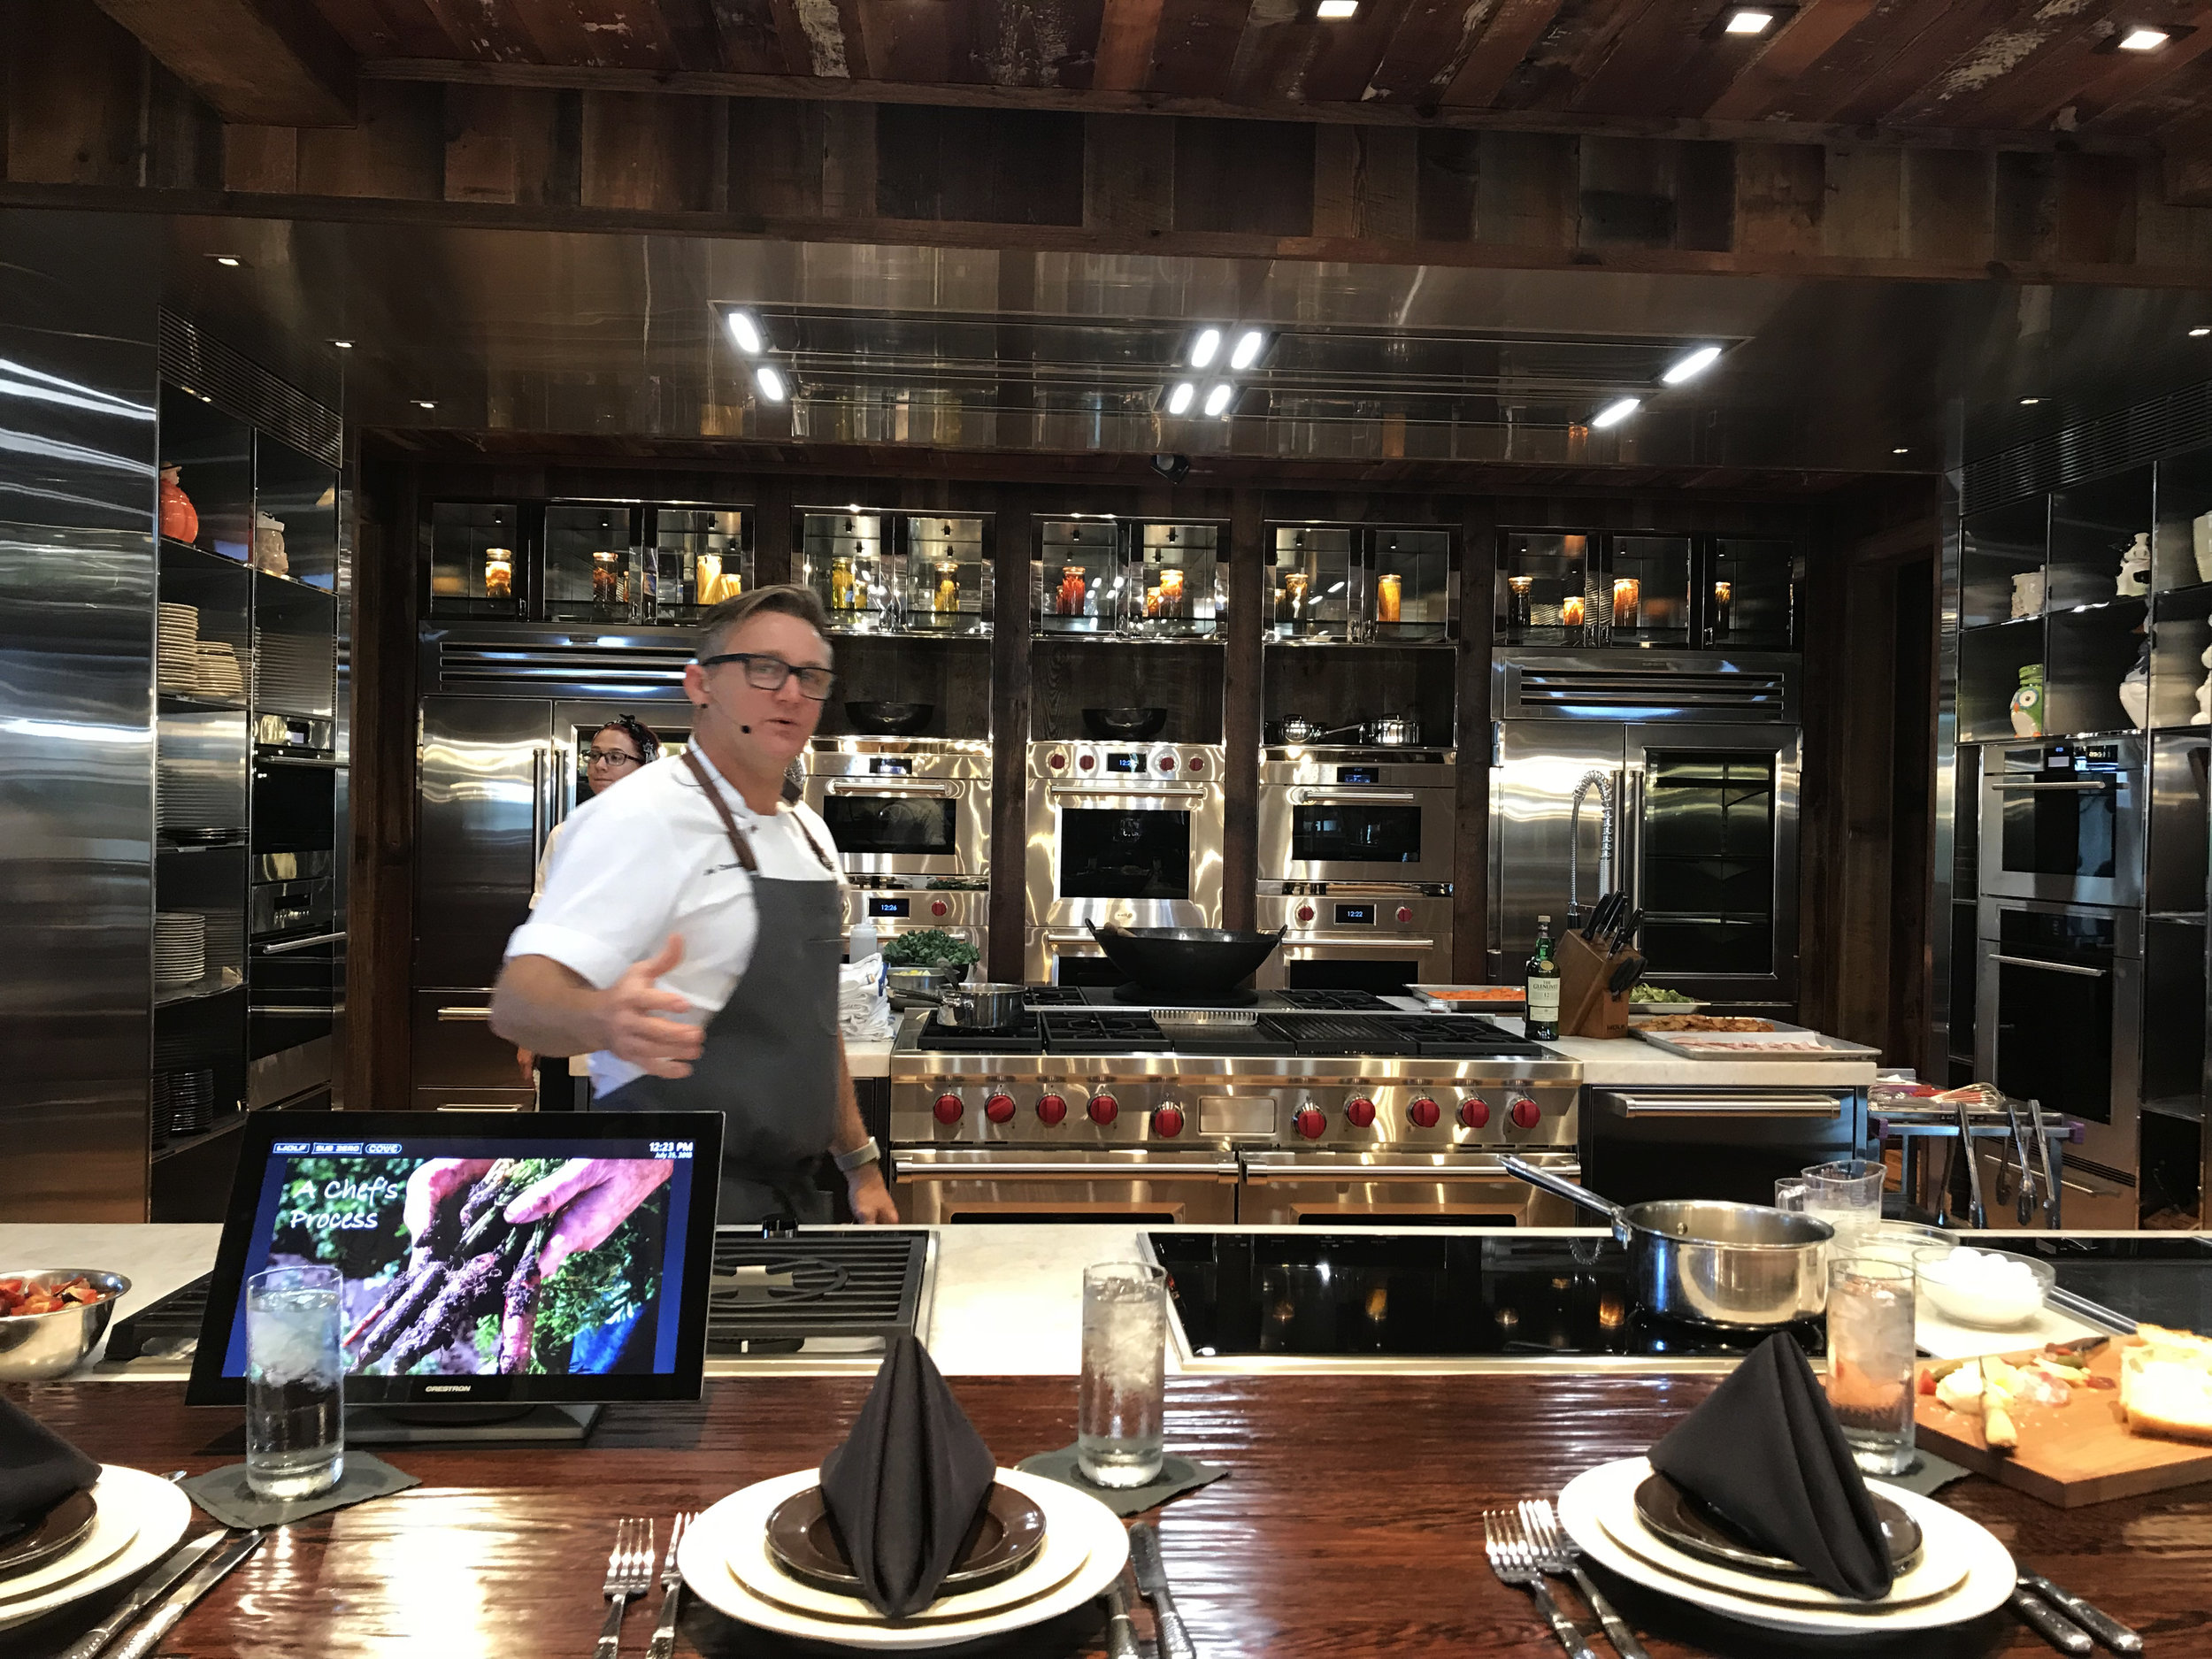
My favorite part of the Subzero/Wolf training trip had to be our time at the Barn at Harvest Haven.  Harvest Haven is a garden that was developed on the property of the Subzero/Wolf facilities.  Items from the garden were actually used for menu inspiration and meal planning during our visit.  We had the pleasure of watching professional chefs cook our lunch everyday with fresh and interesting ingredients, all while using top of the line appliances in a beautifully designed kitchen.  

The Barn itself is situated in front of the garden and is one of the most beautiful, warm, and welcoming spaces I’ve ever seen.  As a kitchen designer who loves to cook and grew up in a 1700s farm house, this is what dreams are made of!

Joel Chesebro is the corporate chef for Subzero/Wolf that explained the benefits of each appliance, offered cooking tips and tricks, and guided us through the beautiful garden.  Below is a great video explaining the story behind Harvest Haven.

Harvest Haven with Joel Chesebro

*Luckily we got to visit Wisconsin in July and got to see the garden in all it's glory!

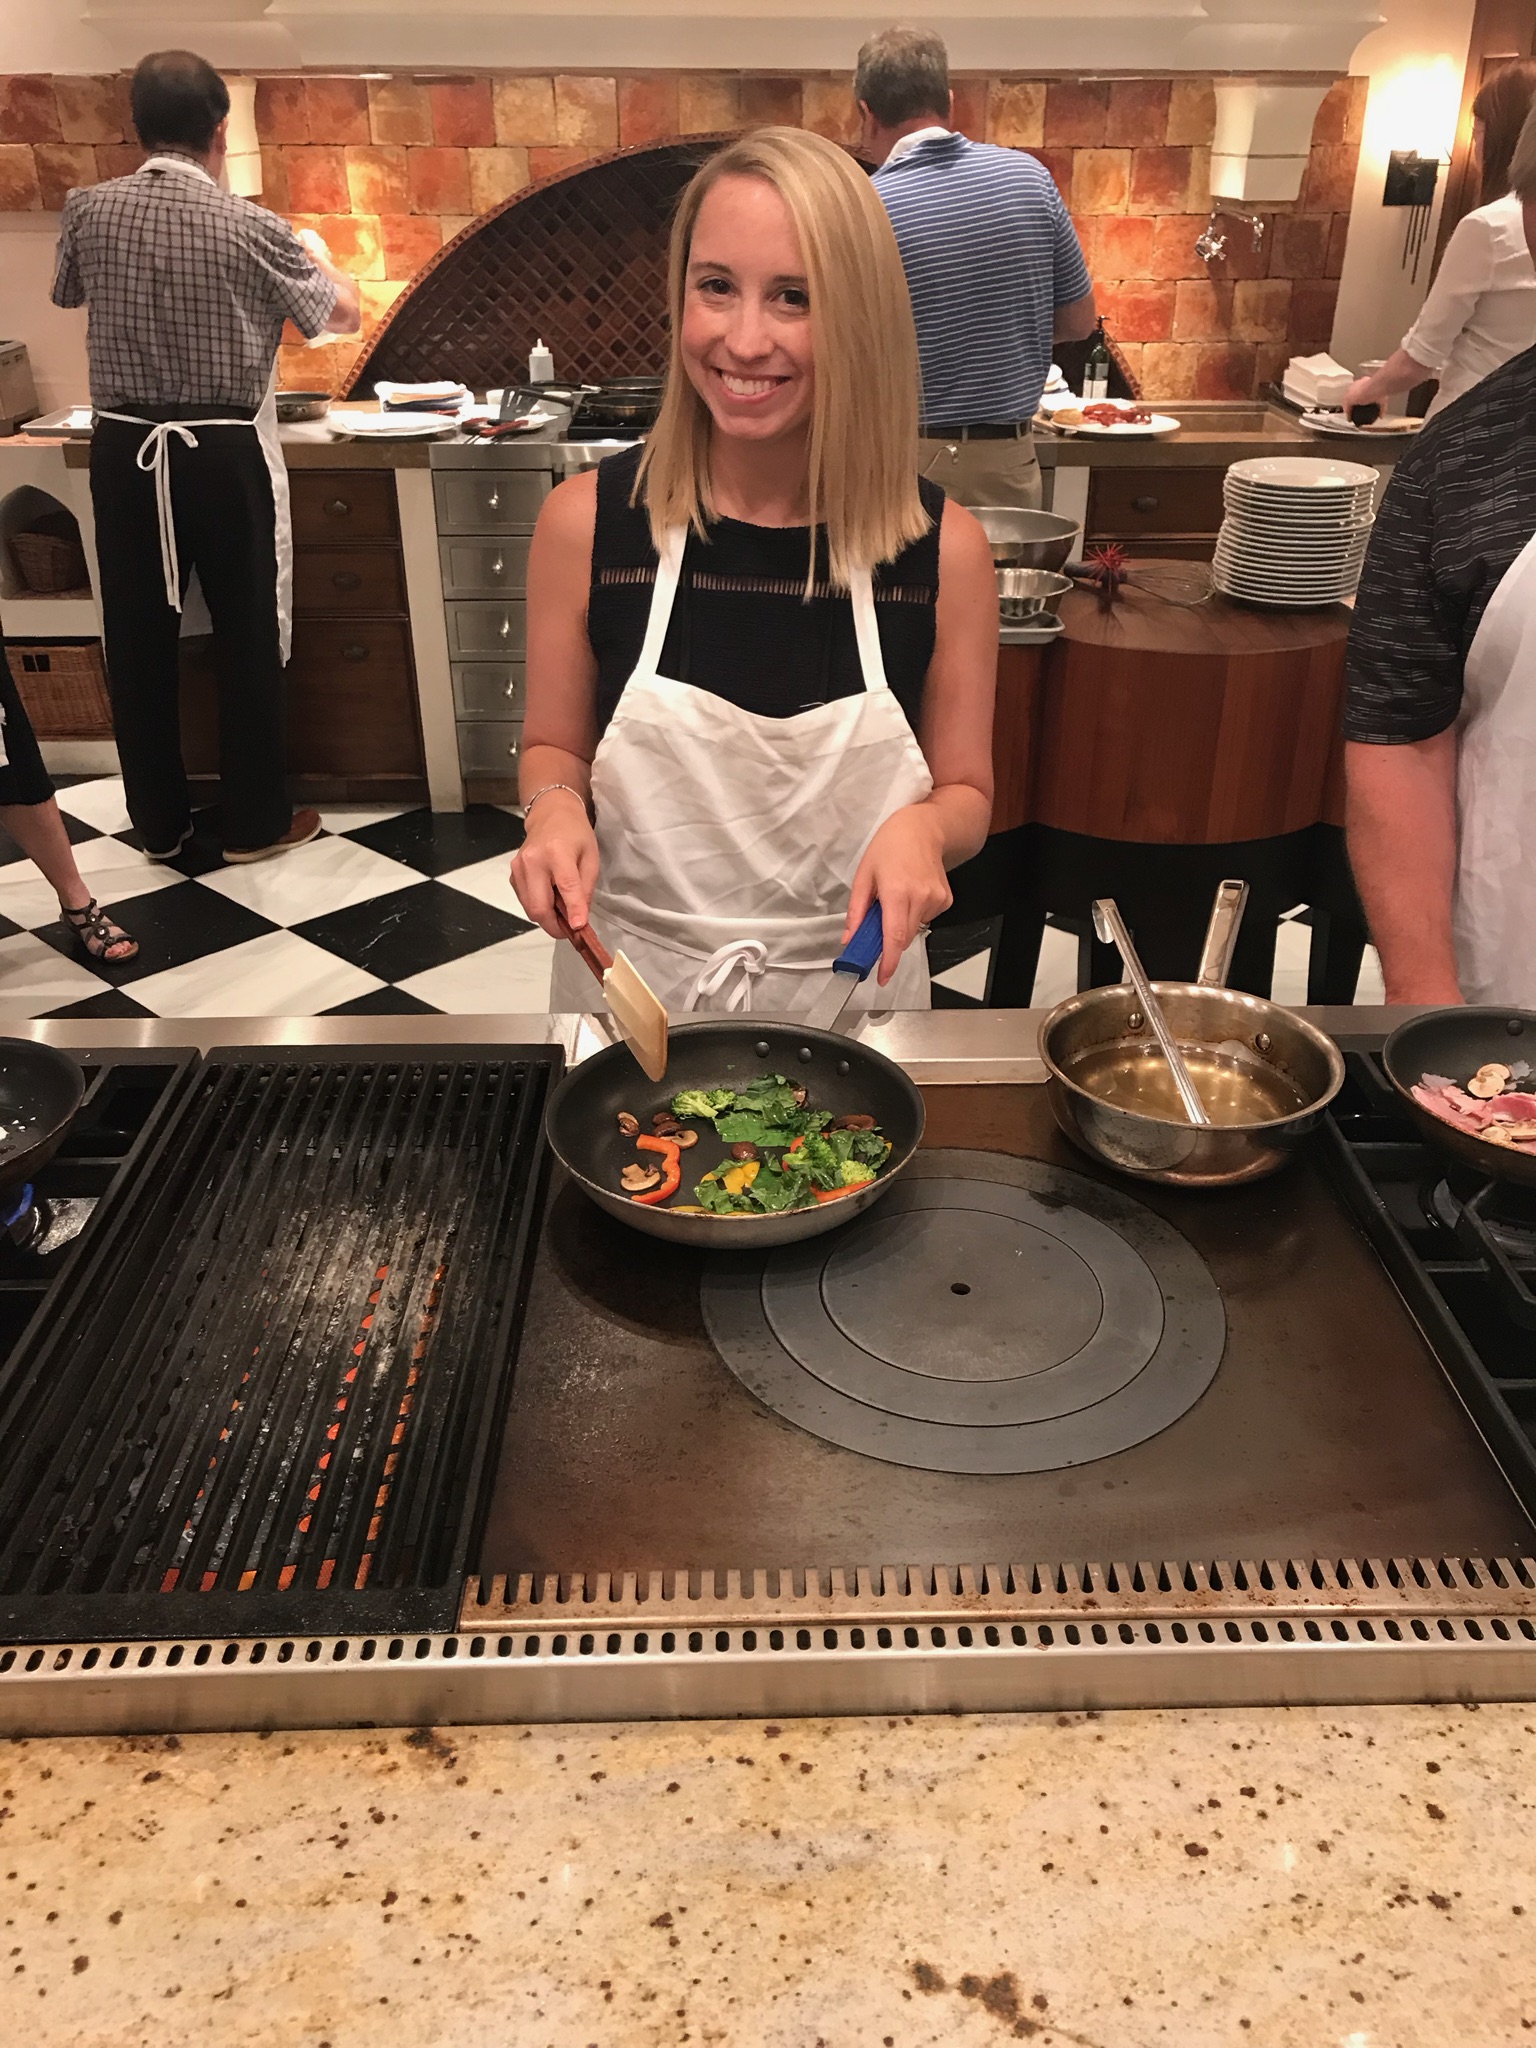
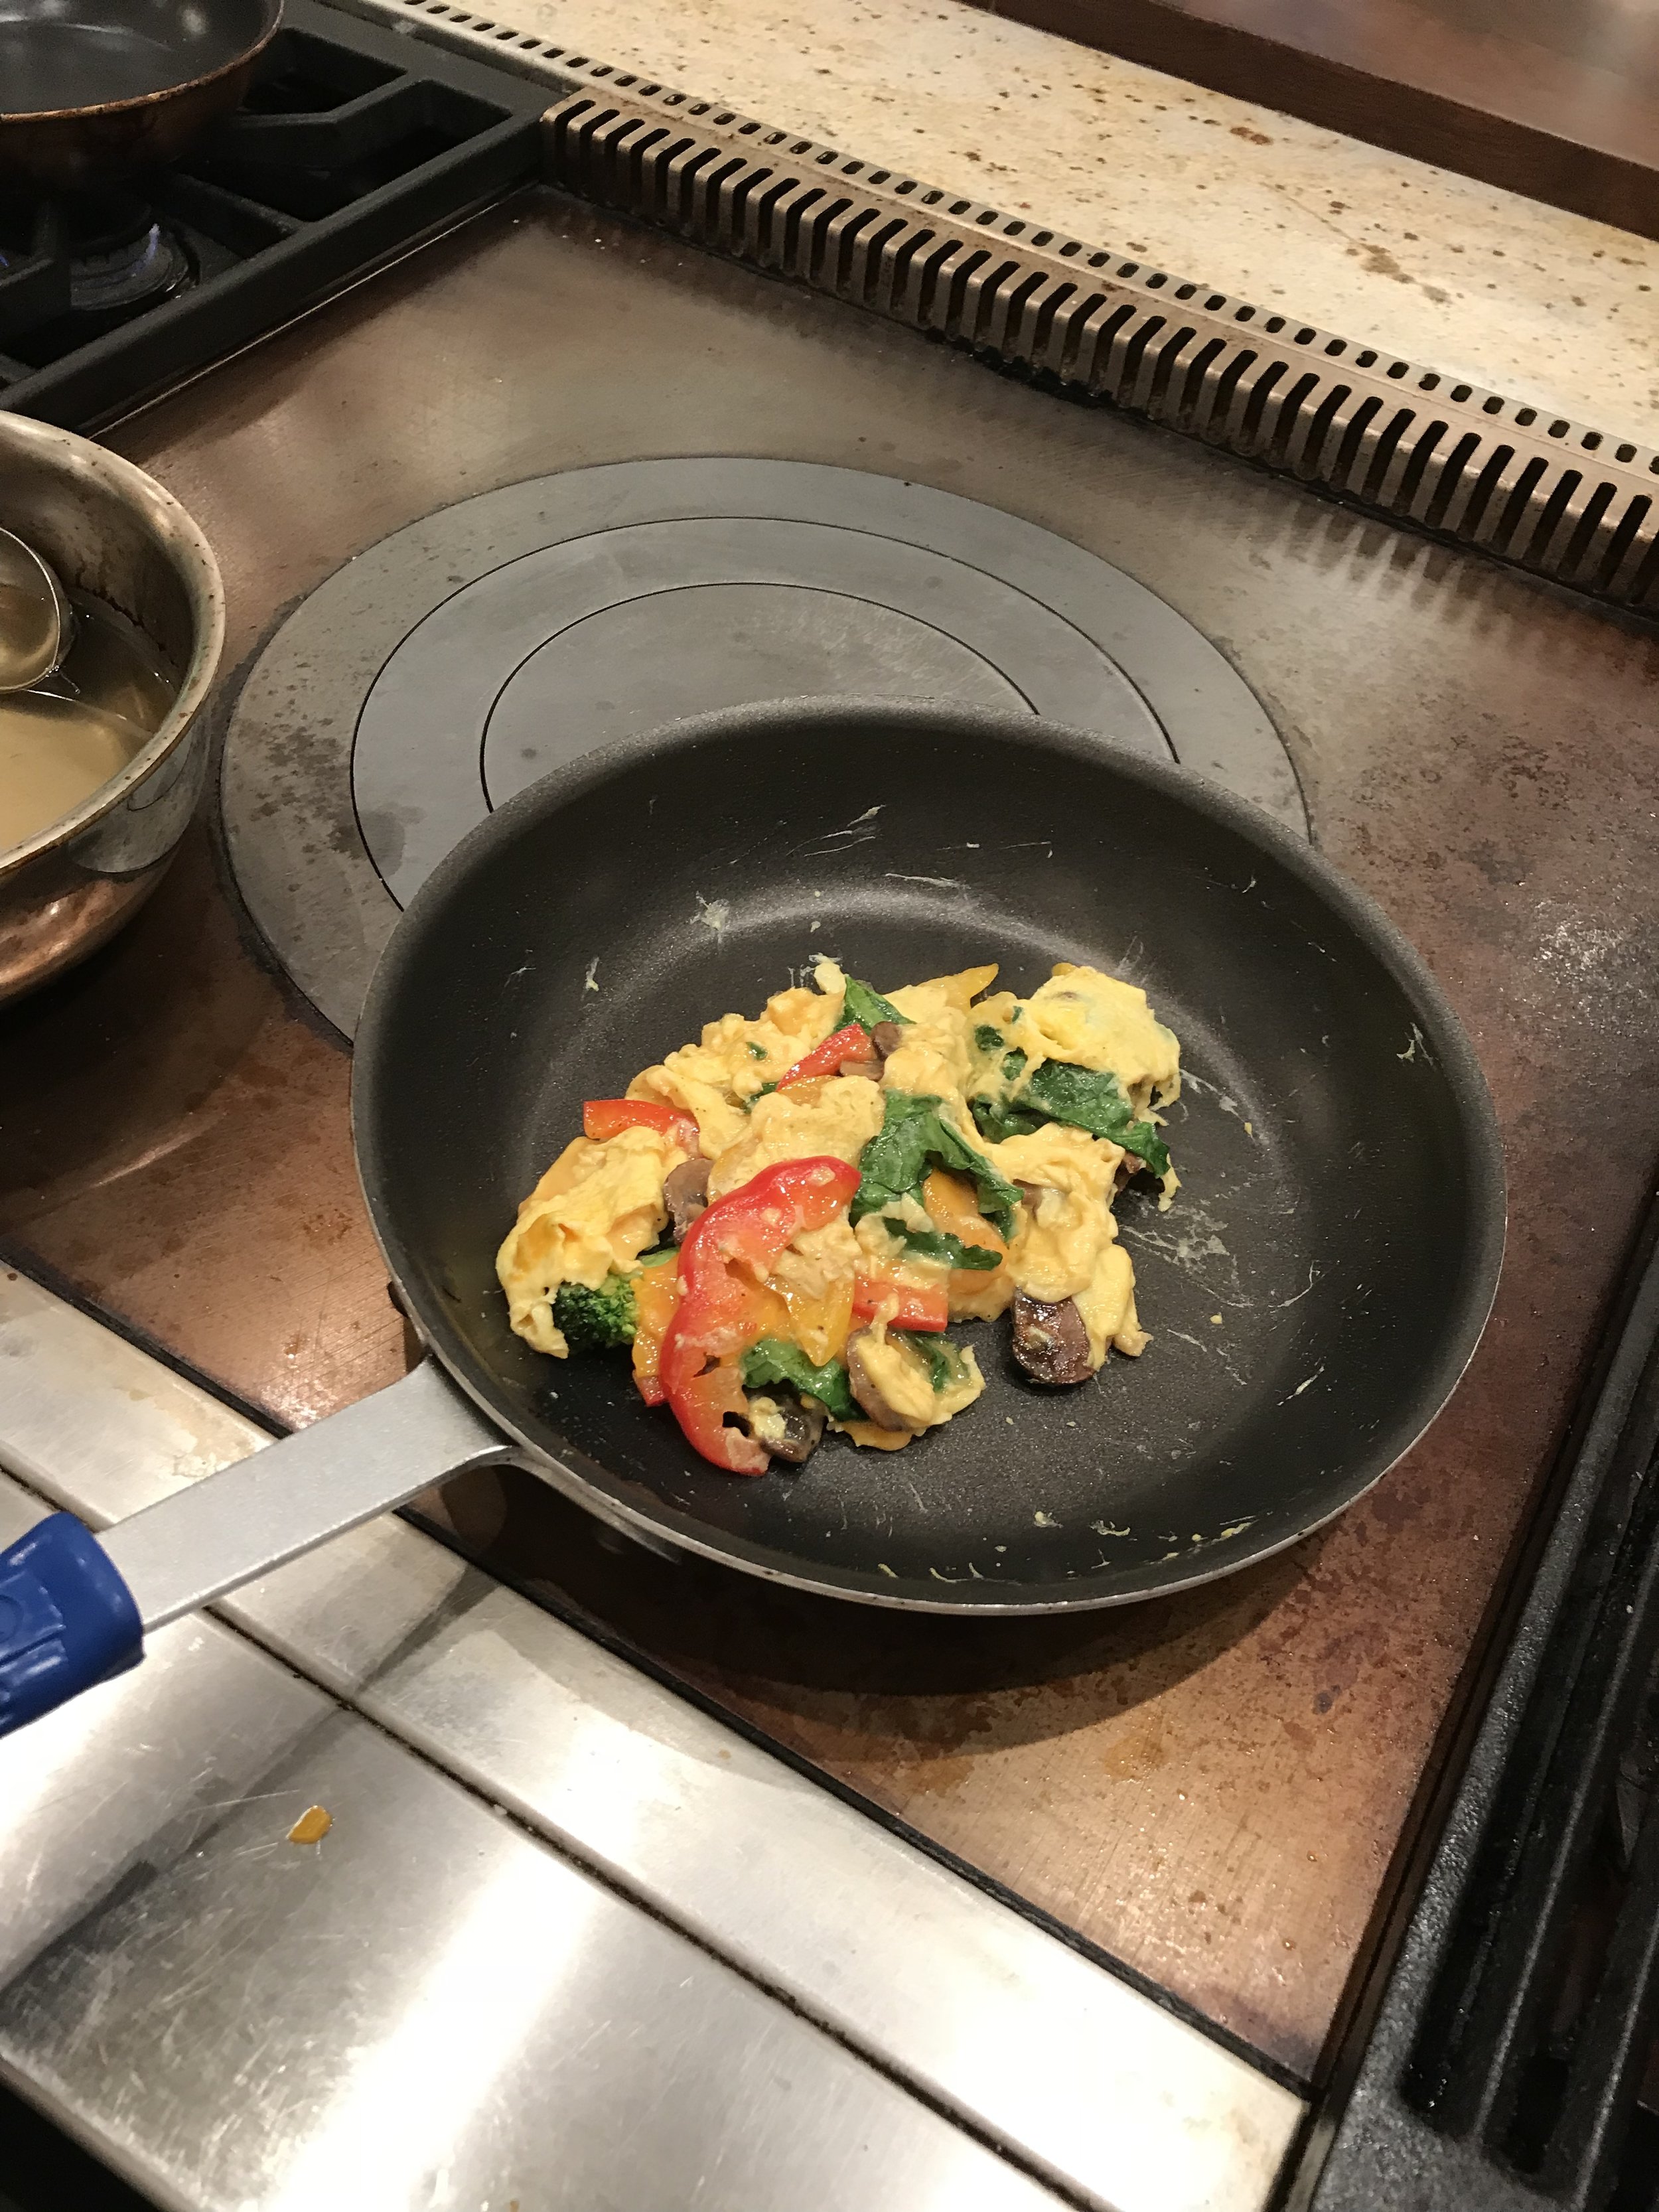
We were also urged to cook our own breakfast every morning so we could experiment with all the different appliances.  From an induction cooktop to a traditional French top, I was able to experience first-hand different methods of cooking the same meal.  What more could we ask for?!

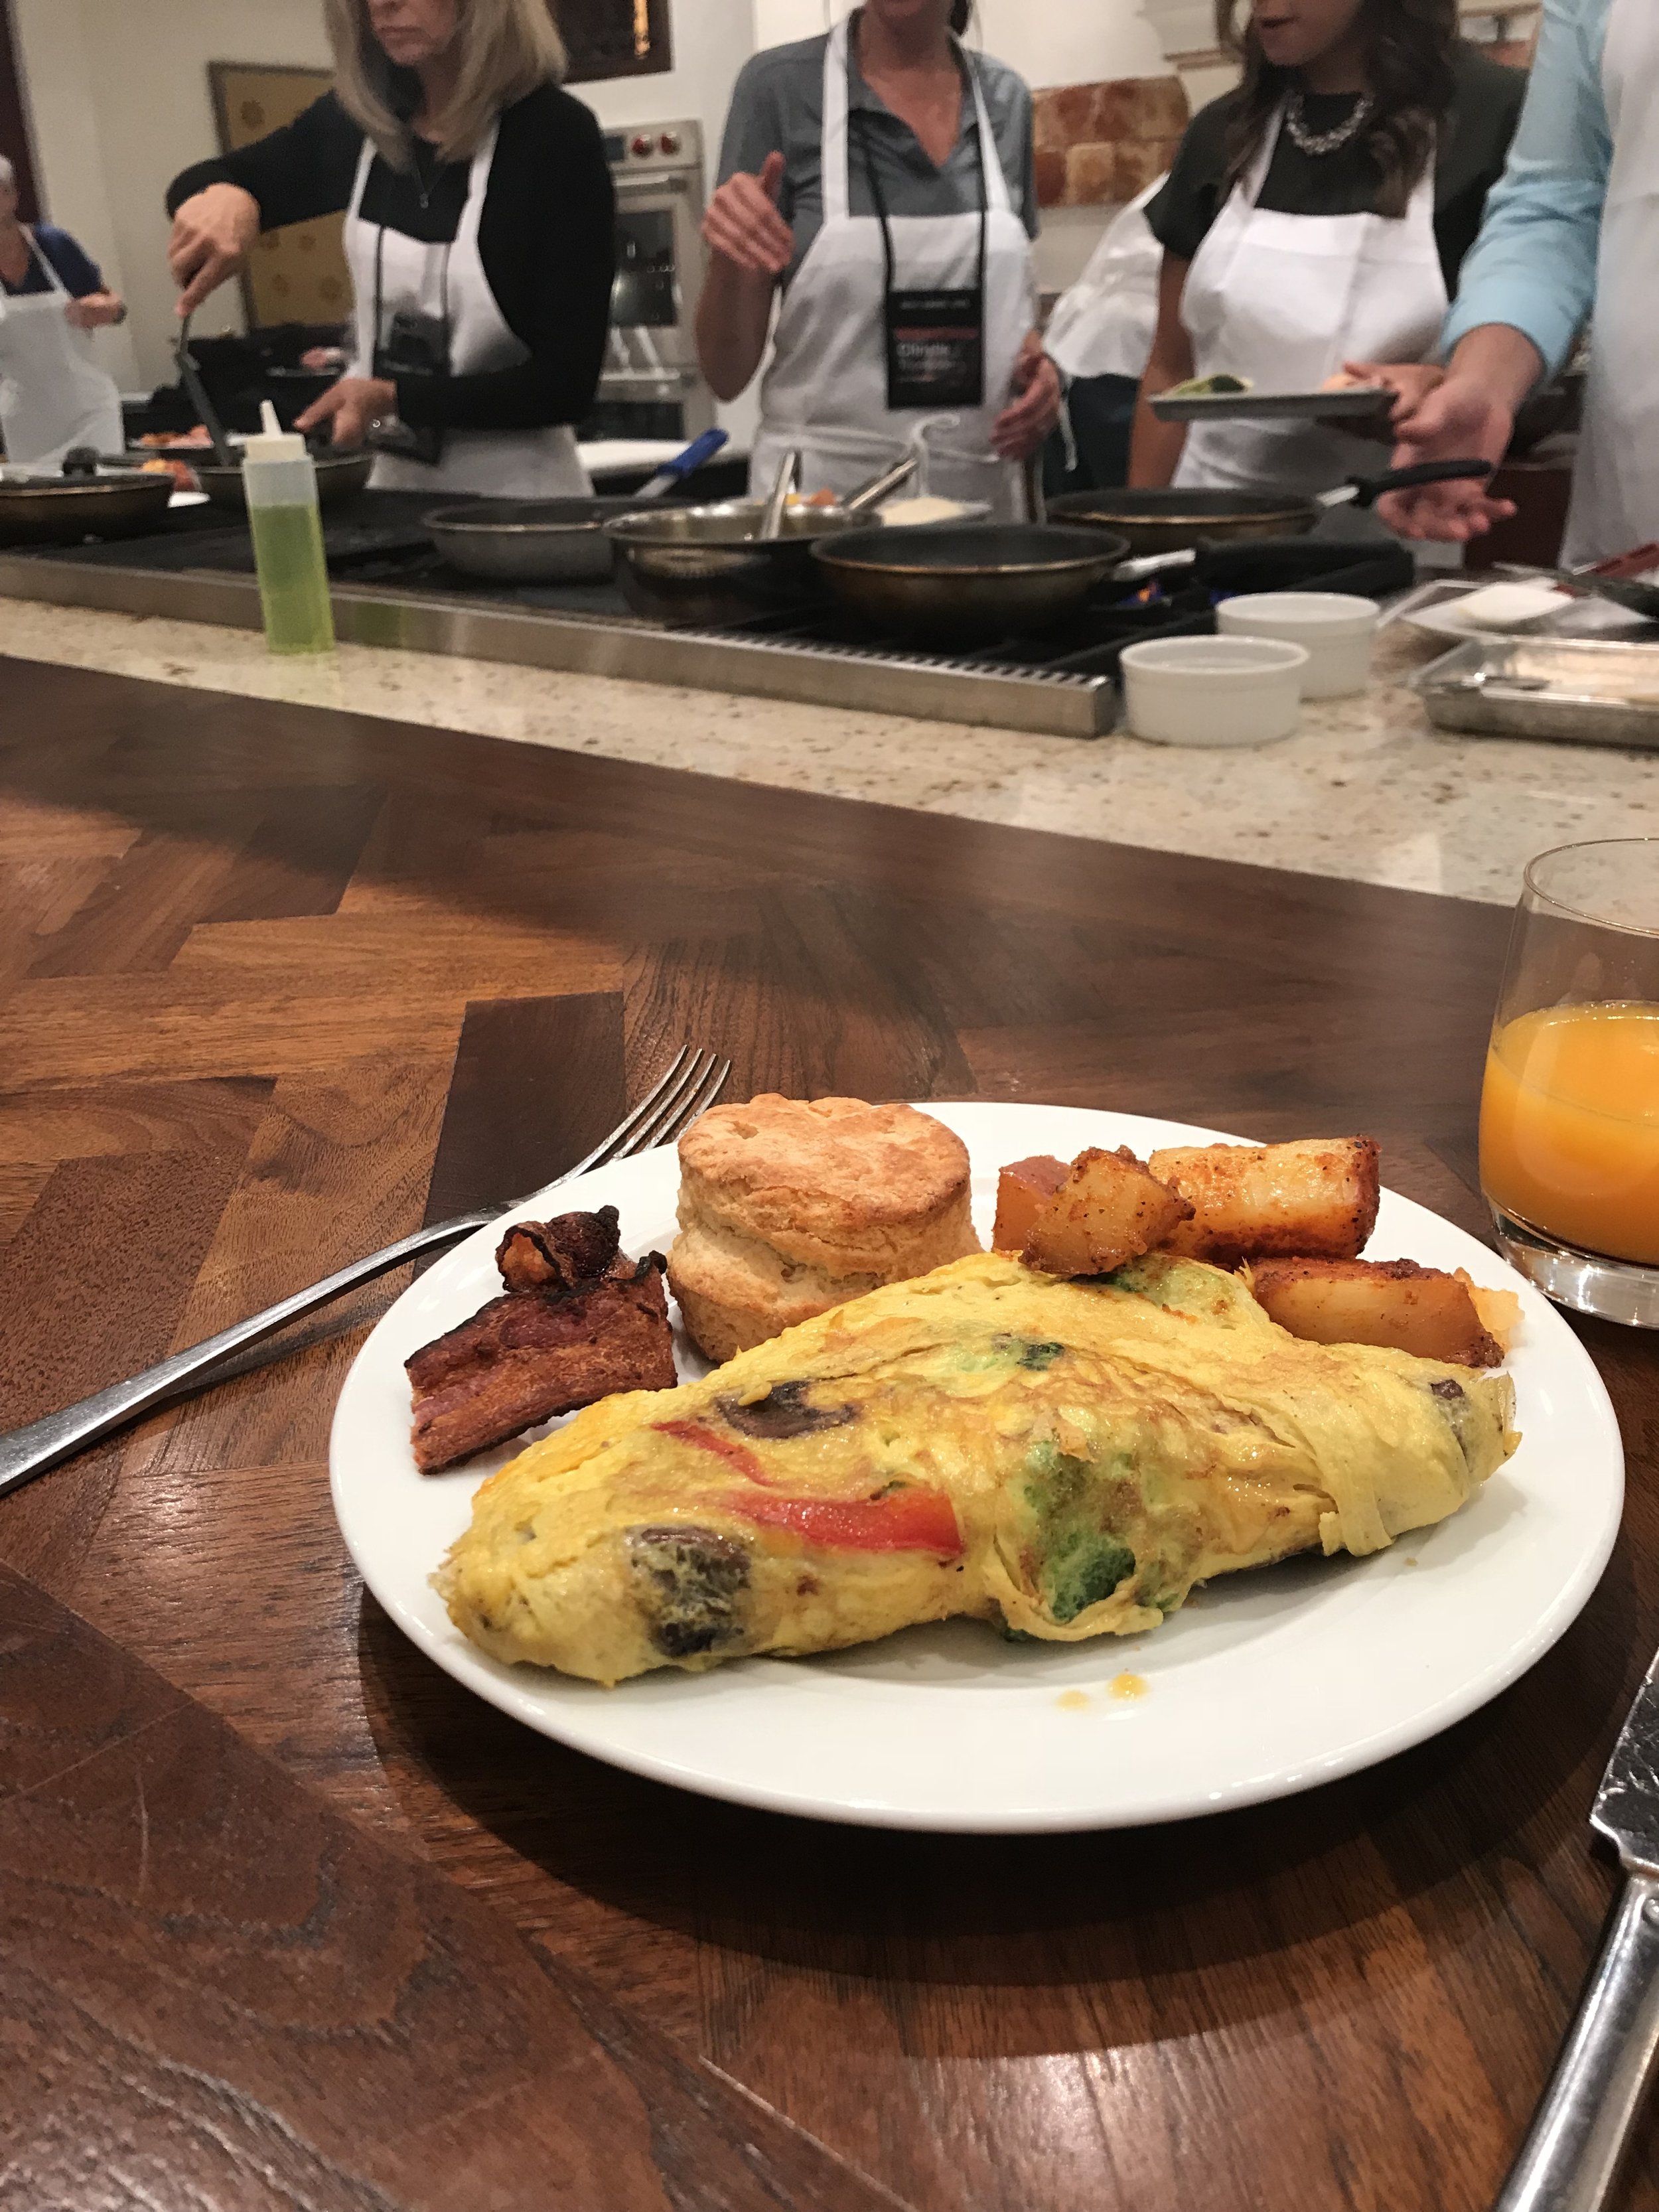
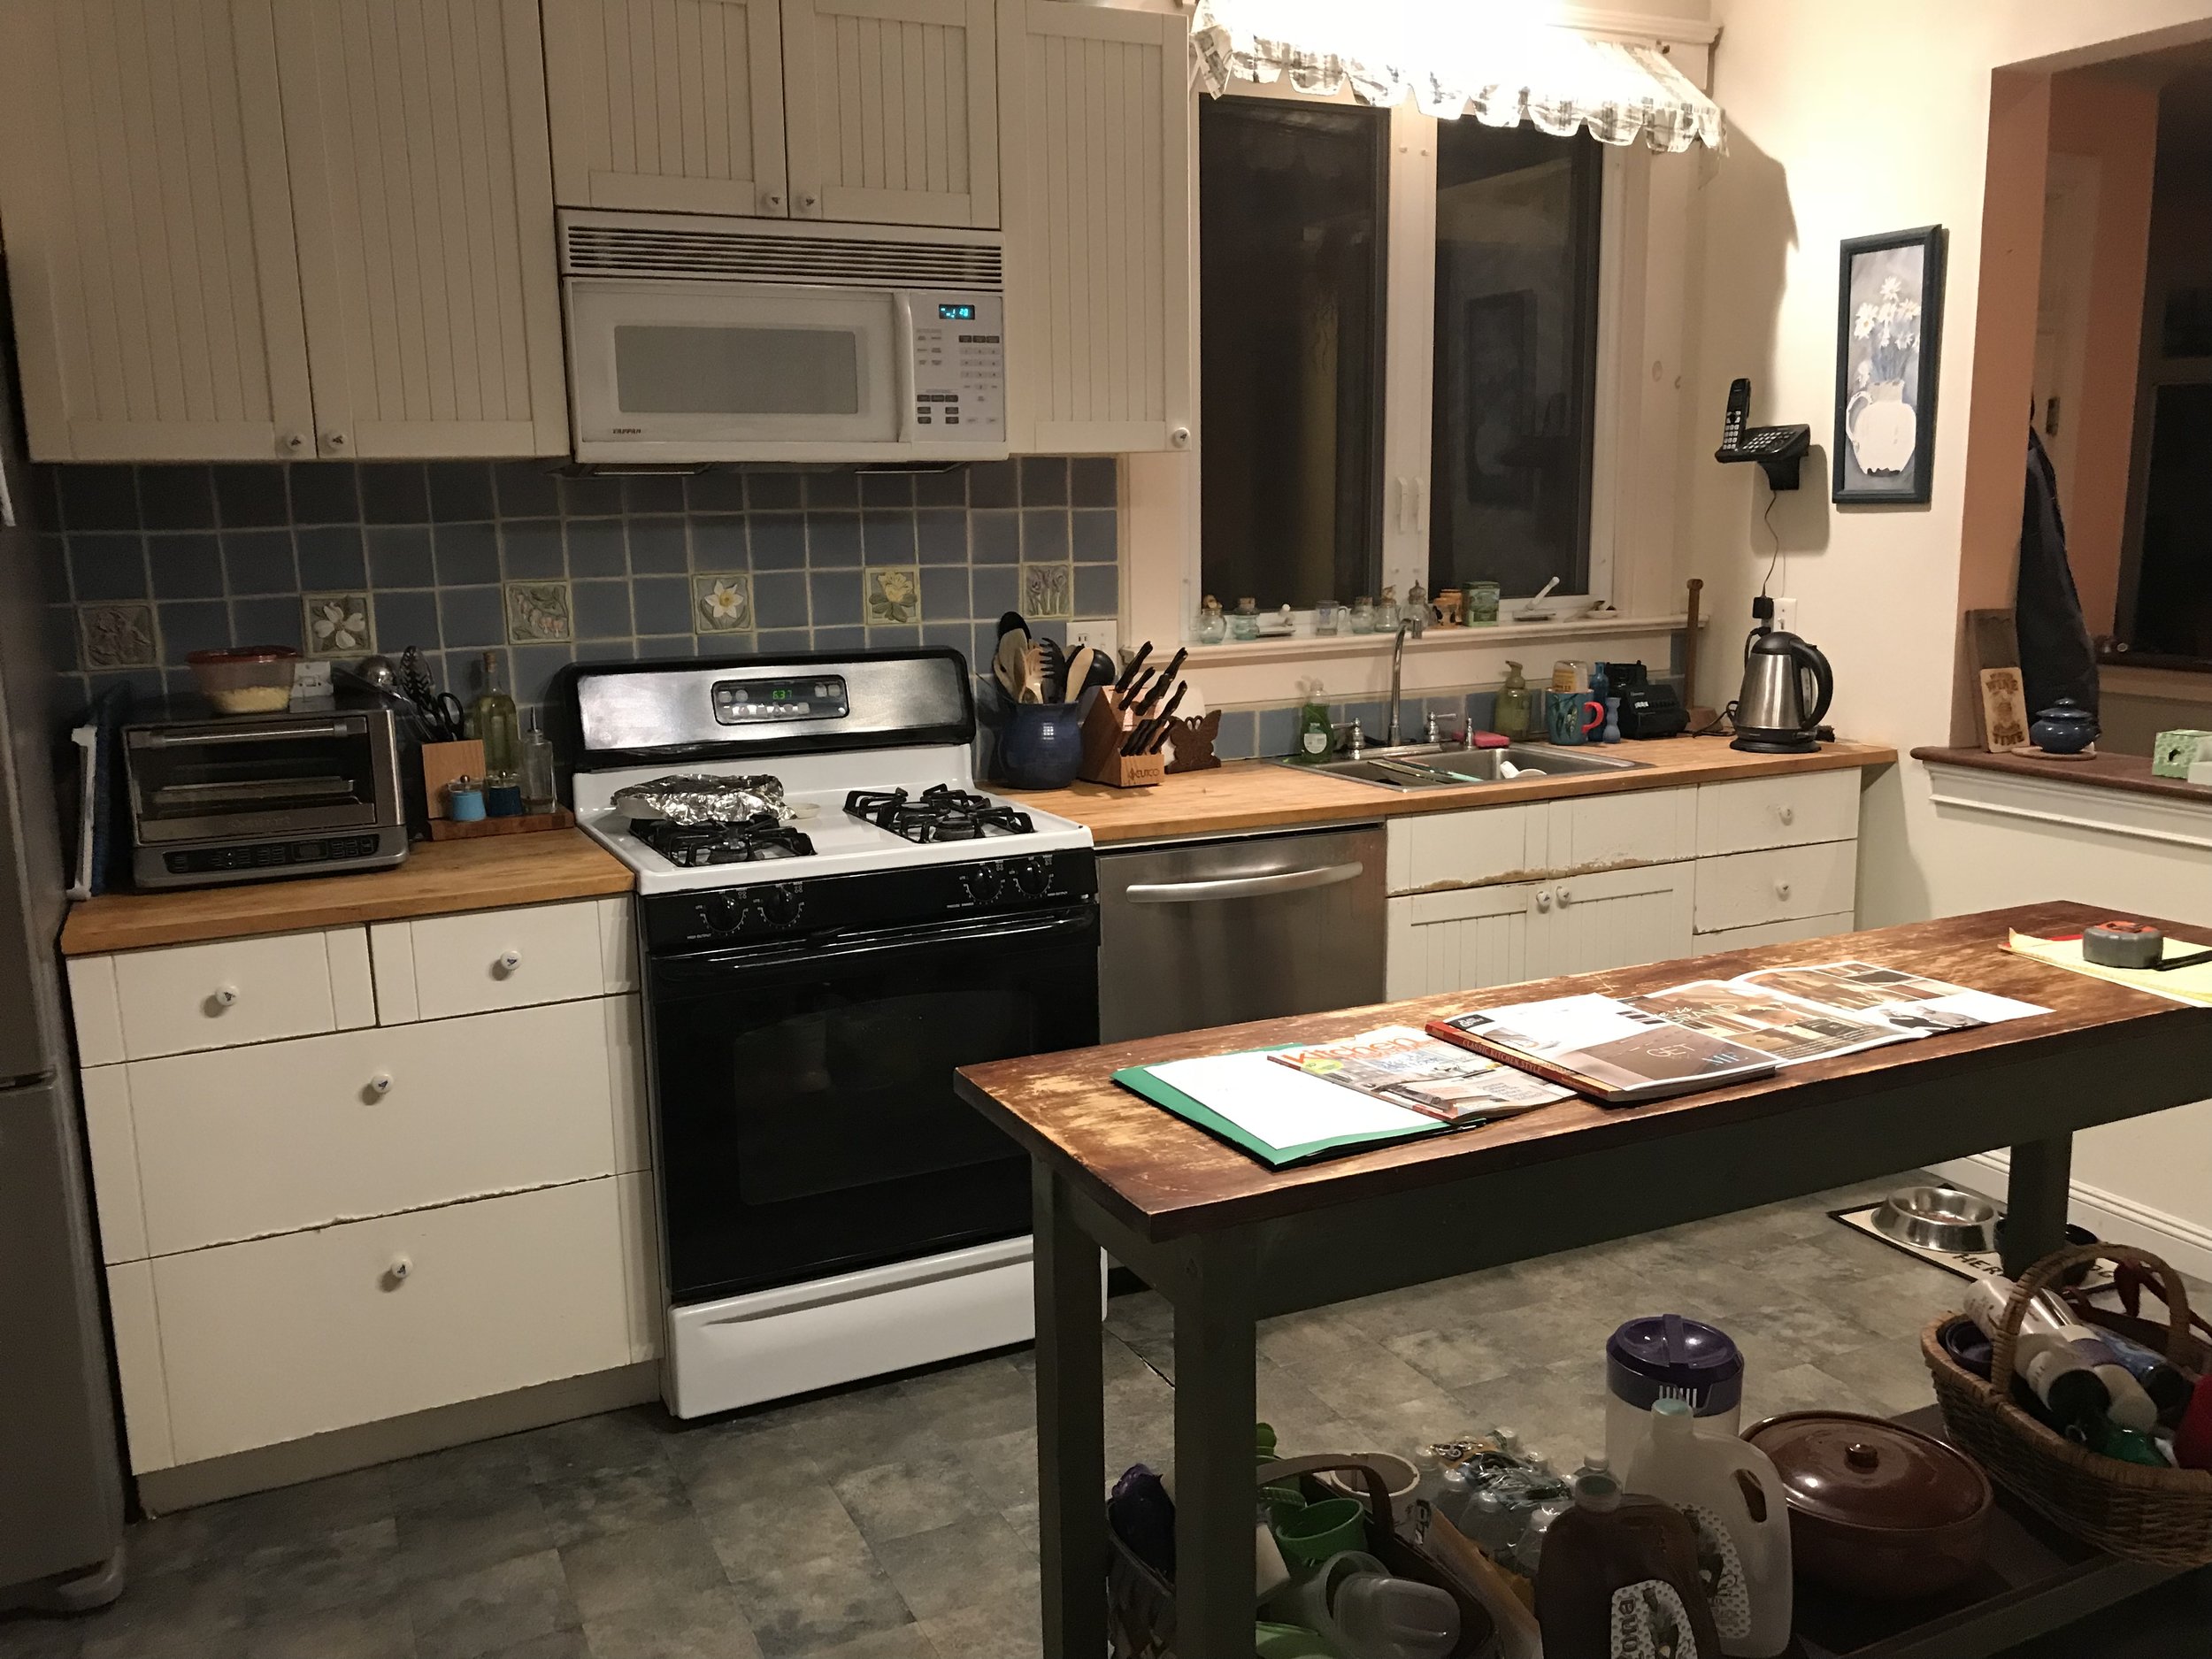
While the food and special treatment was fantastic, this training program isn’t just a smart marketing tactic to entice designers to specify their products.  Whether a seasoned designer or new to the industry, this was a valuable learning experience.

From the in-depth training sessions to interacting with fellow designers from all over the country, the lessons we learned here made me excited to incorporate new ideas and techniques into all of our kitchen designs.


*This is a non-sponsored blog post.  All thoughts are my own and the amazing food has not swayed my opinions in any way.

Before & After: The Contrasting Color Kitchen Remodel

1H2A9747-Edit.jpg

Over the years we have designed and remodeled hundreds (if not, thousands) of kitchens.  Every client and kitchen are different, which makes for a very interesting job working as a kitchen designer! But every once in a while, a kitchen comes along that really makes you stop, think, and appreciate the beauty of transformation.  One of the most rewarding experiences is creating a space that puts a smile on the homeowner’s face every day.

This project is one of the ones that makes us smile.  This kitchen was long over due for an update.  The homeowners work hard every day and enjoy having a space to come home to cook in at the end of a long day.  Their existing kitchen was lacking in storage space, function, and aesthetics.  The space definitely didn’t stand up to the elegant and traditional style of the old Victorian home.  Most notably, the layout of the kitchen also felt disjointed with oddly placed windows and valuable space that wasn’t being used properly.  Working within an existing space can be challenging, but seeing this kitchen for the first time felt like a good opportunity to push the limits a bit with the layout in order to show the homeowner’s the potential of their space.

Anyone who cooks often knows how important a well-organized kitchen is.  Not only does it make your time in the space more enjoyable, but also more efficient.  When designing this kitchen with the homeowners, we largely focused on the placement of the cabinetry and their individual function in relation to one another.  Below are some of the key wants and needs incorporated into the new kitchen:

  • Adequate Pantry Space with Functional Storage

The homeowners were used to having a pantry cabinet in their existing kitchen, so this was something they couldn’t sacrifice in the new design.


  • Base Mixer Lift for Stand Mixer

For someone that bakes often, a Kitchenaid Stand Mixer is a must.  They are very heavy and can be difficult to store, so most people typically leave them on the counter (taking up valuable space).  The solution here was to dedicate a cabinet with a mixer lift and outlet inside the cabinet.  This way the mixer is easily accessible when needed and can be hidden when not in use.


  • Area for Baking

A designated section for baking (not within the main working triangle of the kitchen), was important to the homeowner.  This area also includes the Base Mixer Lift and additional storage for baking sheets, mixing bowls, etc.


  • Island with Storage

The existing island was more of a table/furniture piece that lacked closed storage.  In a smaller space, maximizing storage is typically at the top of the list.  A drawer cabinet and trash pullout were used to create the island, along with simple detailing and a contrasting color.


  • Cabinet for Trash/Recycling/Composting

A trash/recycling pullout is a no-brainer in kitchen design, but the composting request is a new one gaining popularity.  We were able to find a pullout with 2 large bins (trash/recycling), and two small bins with lids (composting).  This was included in the island as mentioned above.


  • Open Shelving/Glass Cabinets for Display

The original built in cabinetry in the kitchen had seen better days.  Typically, we’re all for salvaging original woodwork, but this was screaming for attention.  The homeowner requested a mix of open shelving and glass cabinetry for display of plates and miscellaneous pieces of importance to her.  This area also became a nice focal point of the space.


  • Cabinetry/Crown Molding to the Ceiling

Taking advantage of the extra space above the existing cabinetry was important for these homeowners.  The open space was wasted space that could be used for additional wall cabinet storage.


  • Storage for Spices

One of the most popular requests we receive, we incorporate a spice pullout (or two) into almost every kitchen.


  • Plain & Fancy Cabinetry

Last, but not least! We actually received this client as a lead through Plain & Fancy’s website.  The homeowner had always dreamed of having Plain & Fancy cabinetry in her kitchen, and we were able to make that dream a reality!

To learn more about Plain & Fancy Custom Cabinetry - click here!


This project is a great example of how with a little creativity you can completely transform a kitchen within the existing space (without tearing down all the walls a-la Fixer Upper style!).  We hope you enjoy this kitchen as much as we do!           


Kitchen & Cabinetry Design by Robinwood Kitchens

Plain & Fancy Custom Cabinetry Provided by Robinwood Kitchens

General Contracting & Cabinet Installation Services Provided by McManus Builders (Madison, NJ)

Photography by Andrew Pitzer Photography

Cabinet Refacing 101: Our Process

Cabinet Refacing is a unique service that Robinwood Kitchens has specialized in for over 40 years.  We take great pride in offering our clients an alternative option to completely remodeling without compromising quality and aesthetics.  Our secret is using the best quality refacing materials available from Conestoga Wood Specialties and employing our own installers that have refaced thousands of kitchen cabinets over the years.

Since cabinet refacing is a something that many are unfamiliar with, below is our step by step guide to the process.

Step One: Design & Details

The scope of a cabinet refacing project can vary depending on what modifications or changes the homeowner would like to make.  The project can either be very simple and the cabinets are refaced “as is”, or it can be more complex and may involve modifying existing cabinetry or adding new cabinetry. All these details are discussed in the very beginning for a few important reasons.  Modifications or additional cabinetry will affect the overall cost of the project and these details need to be hashed out so we can order the material and new cabinetry properly.  Often times we provide our clients with drawings of the modifications or new cabinetry to approve prior to ordering.

During this phase we also select the new door style and finish for the cabinet refacing project.  We have many samples to select from in our showroom.  However, our supplier, Conestoga Wood, is a custom company so there are hundreds (if not, thousands) or door style/finish combinations available.  If the homeowner is looking for something that we may not have in the showroom, we order door samples for approval before finalizing all the details and ordering.

Photo Feb 01, 3 10 12 PM.jpg


Step Two: D-Day

*Prior to starting the cabinet refacing project, it is important for the homeowners to clean out all cabinetry.  While the refacing process isn’t very messy, light sanding is still involved so it’s best to remove everything from the cabinetry while work is being performed.

 Demo Day for Cabinet Refacing is much less intrusive when compared to a complete remodel. Before we begin working, our installers protect the floors, countertops, and any other important areas of the kitchen.  The first step is to remove all the existing doors, drawer fronts, and moldings that are being replaced. 

If countertops are being replaced, they will also be removed at this time so a template for the new countertop can be completed.  Countertops typically take 7-10 days to be fabricated, installation can be expected towards the end of the project.

If the backsplash is being replaced, the removal of existing backsplash tile will occur during the demo phase.  The sheetrock will be patched in preparation for the new tile, and the tile installed after the countertop installation.

Step Three: Prep the Cabinets

To prep the cabinetry for the new refacing material the cabinets are cleaned with solution and lightly sanded.  This is done to ensure the new skins and veneer will adhere to the existing cabinetry.  Wood filler is also applied to the cabinetry frames as needed.

If new cabinetry is within the scope of work it will also be installed during this phase.


Step Four: Installation of Skins, Veneer, and Molding

This part of the process is the most time consuming and requires skill and patience from our experienced installers. This attention to detail results in a beautiful finished product.

Skins are an 1/8” finished end that we use for the sides of wall, base, and tall cabinets, and also to finish the bottom of wall cabinets. Each one is cut to fit the individual cabinetry from a large 24” x 96” piece. They are attached to the cabinetry with construction adhesive and small pin nails.

Veneer is a thin material, approximately 1/32”, that we use for the front frames of all the cabinetry.  Robinwood prefers to use all wood products for our refacing work, which results in a long lasting and durable finish.  The veneer is wood-back and comes with a pressure sensitive adhesive coating.  Similar to the skins, veneer is cut to fit the individual cabinet frames from a large sheet of veneer.  Before applying the veneer, we coat the cabinetry with additional adhesive.  This adhesive in combination with the PSA wood-back veneer, ensures proper adhesion and performance.

The addition of crown, light rail, and base moldings will also bring the kitchen to the next level.

Step Five: Installation of Doors, Drawers, Hardware, and Accessories

Once the actual “refacing” part of the project is complete, we install the new doors, drawerfronts, and cabinet hardware.  Until this point the kitchen may not look like much, but this is when the space comes to life and vision becomes reality.

We install all new hinges with a soft closing feature, a nice addition that you will see in all new cabinetry today.  Another option many homeowners take advantage of is accessorizing their kitchen.  This may include new wood drawer boxes, a trash pullout, and cutlery dividers, etc.  All of these additional features enhance the functionality of the kitchen without having to completely replace your cabinetry.

To see more Before and Afters of our previous cabinet refacing photos, click through the gallery below!

Our Design Process

No matter how easy they make it look on HGTV, embarking on a remodel is a big undertaking.  What they don't always show on TV is all the time and hard-work that goes into planning for a remodel.  Before the work even starts there may be weeks to months (sometimes even a year!) of preparations leading up to demo-day.  This is definitely something to take into consideration with your project timeline.  The process varies among design firms, and it can also vary depending on the homeowner's decision making abilities.  At Robinwood we strive to make the process as stress-free as possible.  Below you can find a step-by-step guide about our design process and how we work one on one with all of our clients.

Step One: Complimentary Consultation

o   Initial In-Home Consultation

o   Discuss Design Ideas, Aesthetic, etc.

o   Budget

o   Kitchen Documentation (Measurements, Photos, etc.)


The first step in Robinwood Kitchens’ design process is to schedule an in-home consultation with our new prospective client.  At this meeting we take time to get to know you, your home, and how you use your kitchen or bathroom.  We’ll discuss your likes and dislikes with the current space, your wants and needs, and what kind of aesthetic you’re trying to achieve within the new space.  At this time, we will also document the existing kitchen with photos and measurements.  Typically, we like to schedule a follow up appointment in our showroom to review possible design options and pricing.

Appointments may be scheduled during a phone conversation, through email, or in person.  Some clients prefer to stop in the showroom to meet us prior to the in-home consultation.


Step Two: Design Review

o   Showroom Appointment to Review Possible Design Options

o   Designer/Homeowner Design Time Utilizing 2020 Drafting Software

A week to ten days after our initial consultation appointment we will meet in the showroom to review the proposed kitchen design and proposal.  We utilize 2020 Design software to create realistic representations of your future kitchen.  During this meeting we’re even able to make quick changes to show you different options within the design.  Robinwood Kitchens’ showroom has a wide variety of styles, finishes, and door styles on display.  We display approximately 8-10 vignettes and a full kitchen to show our clients the potential we have to create the kitchen you’ve always dreamed of.

At Robinwood Kitchens we do not charge for the initial consultation and proposal process.  However, we do not release any of our designs or drawings without a commitment from our clients.  We request a retainer (cost depending on size of project/complexity of design), that is applied to the first deposit during the contract phase.


Step Three: Refining the Design

o   Set of Drawings (Floor Plan, Elevations, Perspectives, Additional Details)

o   Door Sample Ordering

o   Changes to the Design Communicated via Email or in Person

After we receive the initial retainer for your project, we’ll provide you with a full set of drawings.  We also take orders for sample doors if there’s a specific finish/door style you are interested in.  Many of our customers like to take the drawings home and compare their existing kitchen to the proposed design to make sure all their wants and needs are included.  During this phase, we often exchange emails with questions and additional drawings of design options.  Our designers may also meet in the showroom on various occasions to review different design ideas and changes. 

This process is different for everyone and may take longer for some.  It varies greatly depending on the size of your kitchen, the timeline for your project, and how quickly you make decisions. The team at Robinwood values this time greatly because we want you to be 100% pleased with the final product.


Step Four: Contracts

o   Financial Contract Document

o   Cabinetry Specifications & Details

o   Final Set of Kitchen Plans

Once the design is finalized, the next step is to complete the contract documents.  At this time all the final decisions on cabinetry finish, door style, appliances, etc. are needed to move forward.  We discuss any last minute details for the design, the project timeline, and answer questions specific to your situation.  Once the contracts are complete the cabinet order is sent and you’re on your way to a brand new kitchen!

We also work directly with the homeowner’s contractor to ensure all goes smoothly.  We provide the contractor and/or installer with a detailed set of drawings and cabinet spec sheet with all important information, and we are always available to answer any questions.


Step Five: Cabinet Delivery, Installation, and Follow Up

o   Scheduling & Working with the Homeowner/Contractor

Robinwood Kitchens is the homeowner’s direct point of communication regarding all scheduling and delivery for the cabinetry.  We always make a point to be there when the cabinetry is delivered so we can check everything over.  At this time, we will also provide another set of installation drawings to be kept on site.  If Robinwood is installing the cabinetry we work directly with our experienced installers to make sure all goes according to plan.  During the installation phase we keep a running punch list of items that need to be addressed.  It’s our number one priority for the project to run smoothly and efficiently.

Over the past 40+ years we have developed an excellent reputation with the local community as a reputable source for design, contracting, and cabinetry.  We have solid relationships with the cabinet companies that we represent, so if any future issues were to arise we should be your first call.


Guest Blogging with Plain & Fancy Custom Cabinetry: Why it's Important to Work with a Kitchen Designer

We've been a dealer of Plain & Fancy custom cabinetry for over 20 years.  We've watched their business grow and expand over the years, so when they approached us few months ago about guest blogging on their website we were thrilled!  Plain & Fancy is a great company to work with and we're excited for the opportunity to further collaborate.

Rebecca wrote this article for Plain & Fancy on the importance of working with a kitchen designer.  Kitchen design, remodeling, and working with customers is our passion at Robinwood.  We find great satisfaction in seeing the joy on our clients' faces as they see their new kitchen come to life.  We're excited to share our opinion on why homeowners will greatly benefit from working with a kitchen designer

Below is the link to Plain & Fancy's website and blog.  Enjoy!

Plain & Fancy Blog: Why it's Important to Work with a Kitchen Designer


p&F blog.jpg

What to Expect: How to Prepare For Your Kitchen Renovation

With the warm weather, kids out of school, and vacation opportunities – the summer months are the most popular time to embark on a kitchen renovation.  Some view this as an opportunity to eat out every night.  However, there are definitely ways to eat home cooked meals without breaking the bank and gaining extra lbs (wouldn’t you rather spend more on the kitchen remodel?!).  The homeowners who suffer the least during a kitchen renovation are typically the ones who are the most prepared.  Based on our experience we’ve compiled some tips and ideas that will hopefully help you survive your next kitchen renovation!

  • Making some meals ahead of the kitchen renovation demo and freezing them can be a life saver.  Not only is a home cooked meal comforting but it eliminates the necessity to eat out every night of the week!


  • Definitely keep your old refrigerator in a separate room until the new one is installed. Having the ability to refrigerate and freeze food will make the world of a difference.


  • One of the biggest benefits of renovating during the summer is having the grill as your new best friend.  It can’t get any easier than that!


  •  Completely clean out and remove any food products, packaged goods, small appliances, etc. from the kitchen cabinetry before the demolition phase. Now is also a good time to binge clean!  Throw out expired canned goods, food products, etc.  Organizing your new kitchen will be much more enjoyable if you’ve already done this.


  • Set up a temporary kitchen with small appliances and food products in a separate room. Keep the essentials handy.  Frustration begins to brew when you’re looking for a quick meal and realized you already packed the cans of soup away. Bins with drawers or baskets can be used to organize items by type. Being organized can make this experience much less chaotic.


  • Some small appliances that you may find helpful for making meals during the renovation:

o   Panini Press or Electric Griddle (some have both options)

o   Crockpot (We recommend using Reynolds Slow Cook Liners for easy clean up)

o   Toaster Oven

o   Microwave 

o   Hot Plate


  • You will be without a sink and dishwasher until the counter top is installed, so stock up on paper and plastic products if you do not have access to another sink. 


  • Designate a space (garage, basement, etc.) to keep items needed for the kitchen project (sinks, faucets, lighting fixtures, etc.) so they are easily accessible for installation.